Windows OS Installation #
Each Handy Drums instrument (i.e., Rock Standard, Retro Custom, etc.) comes in a single installer that contains the following elements:
- VST3 64bit plugin
- VST2 64bit plugin
- AAX 64bit plugin
- Standalone program
- Sample Library
The installer lets you choose what to install and where to install it. Each component has a default (recommended) installation location if you do not change it.
Download the Windows installer #
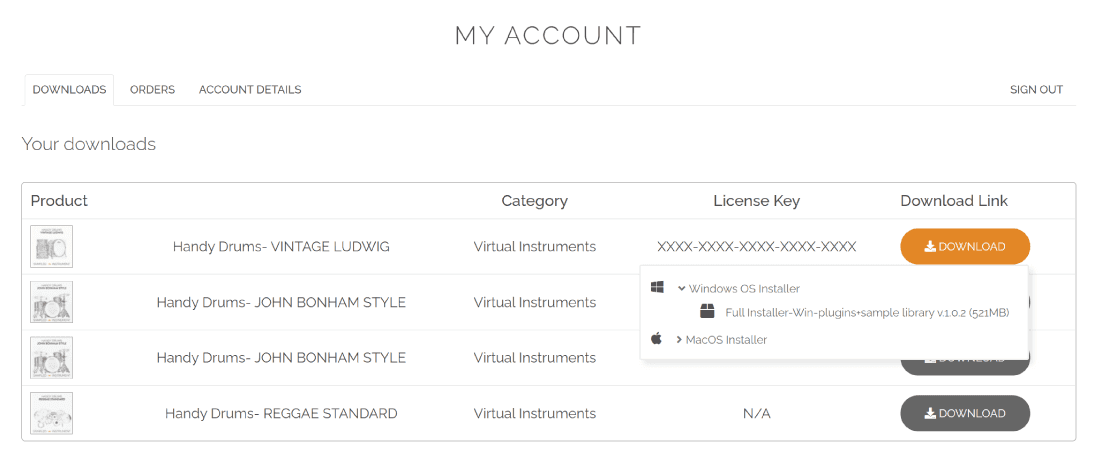
Windows installer, as well as all other installers for our software, is available in your GoranGrooves Library account.
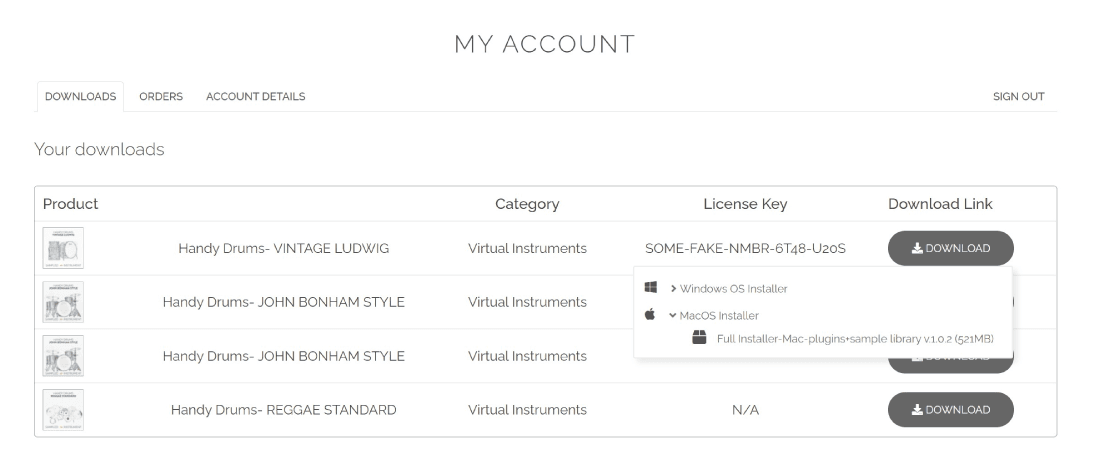
Login to your GoranGrooves Library account, which was required to complete the purchase.
As soon as you log in, you’ll be in the downloads area. For each instrument you purchased, there will be a single DOWNLOAD button. Clicking the DOWNLOAD button displays a pop-up menu to select the version you want to install. If this is your first time installing the software, select the full installer for PC.
The installer has a .exe extension and will download to your default download directory as set in your browser (e.g., the Desktop).
Make sure the file is completely downloaded before attempting to open it. The successfully downloaded installer will display the appropriate box icon.
Windows Installation Procedure #
Double-click on the installer you just downloaded to launch the installation procedure.
NOTE: If the installer doesn’t start or closes unexpectedly during the installation, please run it in administrator mode by right-clicking on it and selecting the “Run as Administrator” option. Ensure you terminate any stalled installer processes in Task Manager.
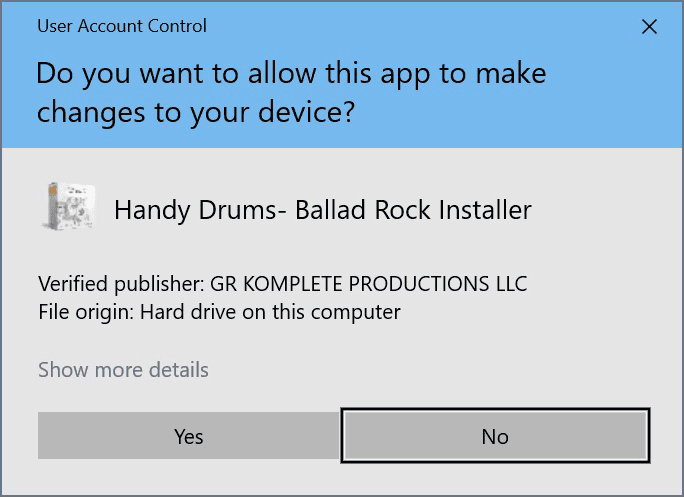
Depending on the Windows version, you may be prompted for permission to run the program.
Click YES.
Greeting #
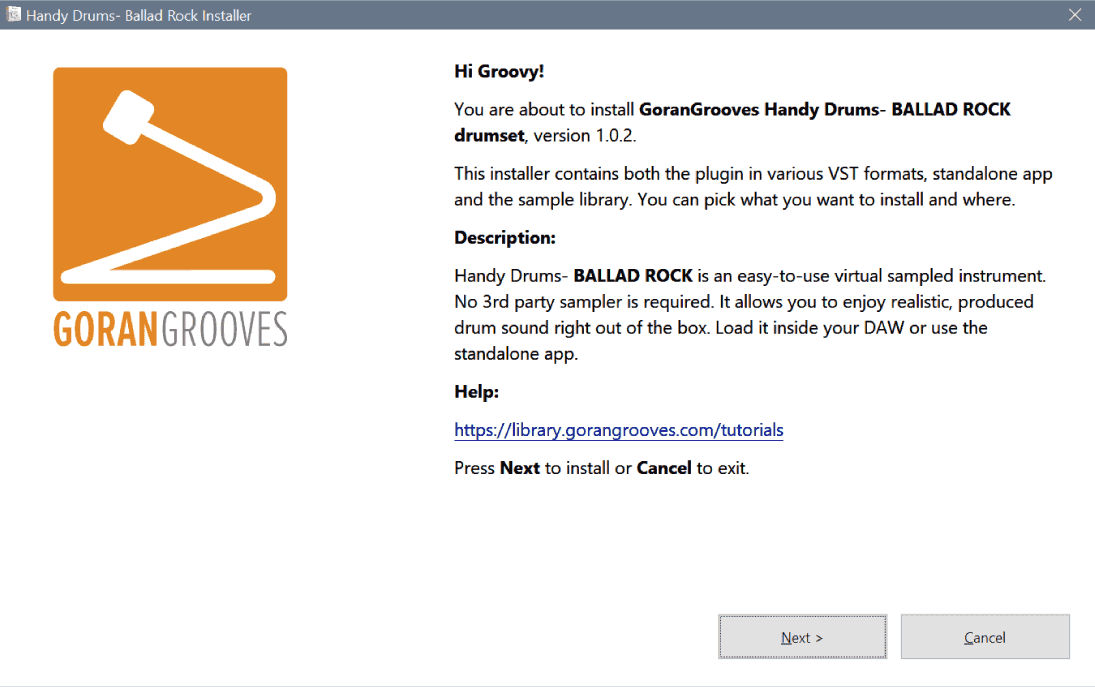
You will be presented with the initial greeting and description.
Click NEXT
License Agreement #
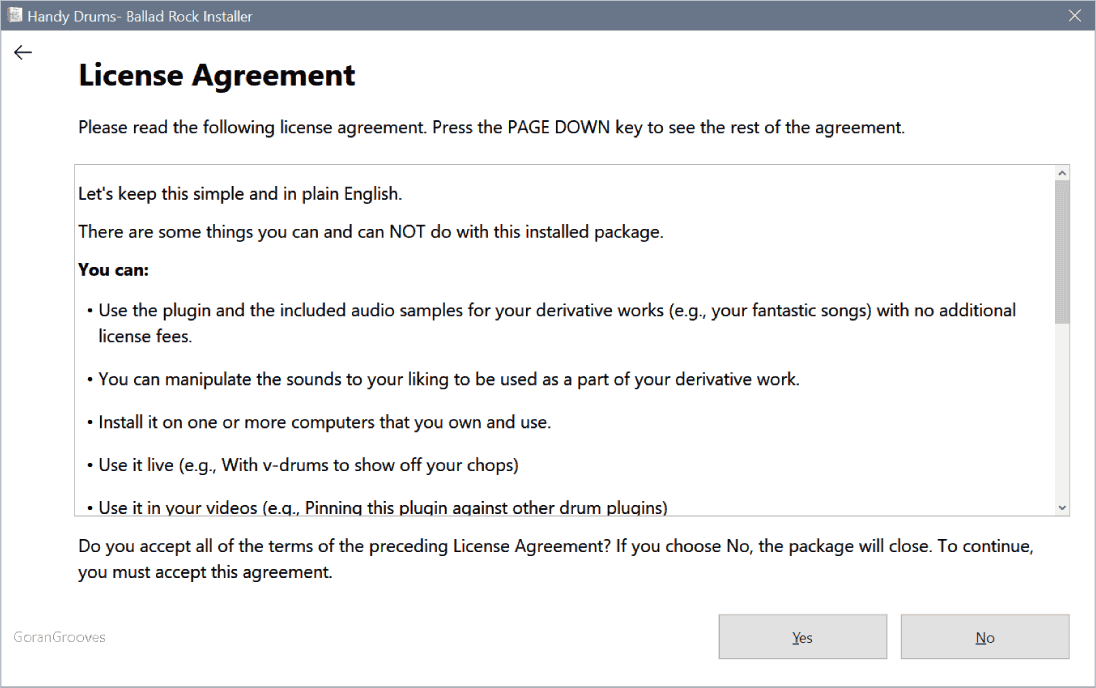
Please make sure to read this simple license agreement in plain English, which will inform you of the terms and conditions of use.
When done, click YES to proceed.
Select components to install #
Here you can choose what to install.
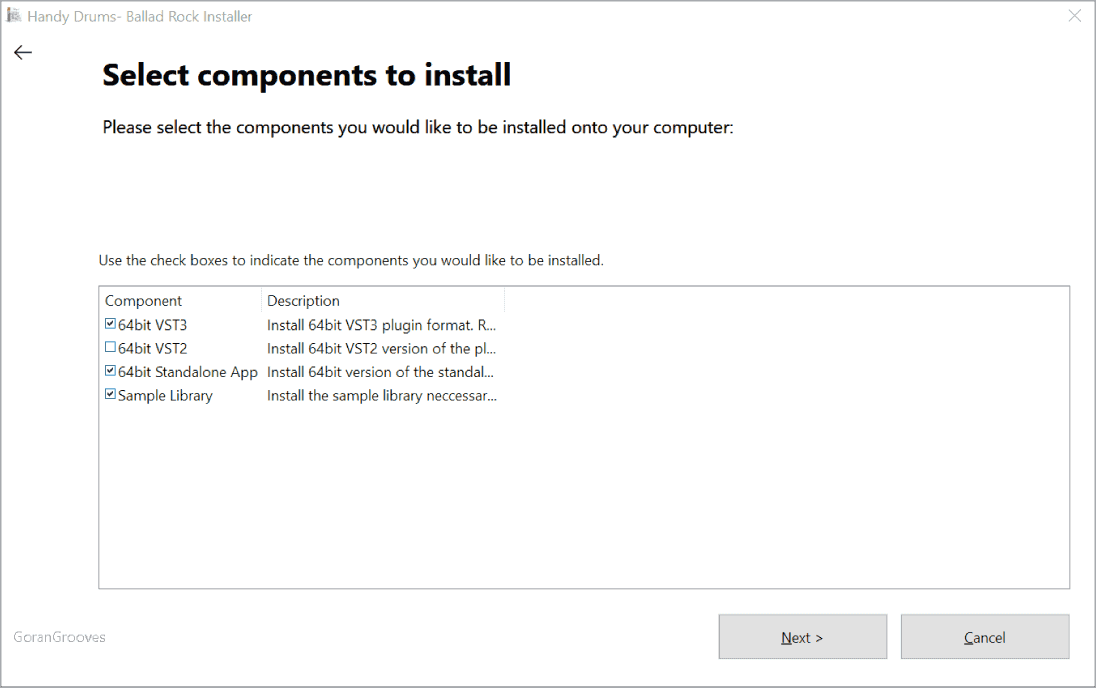
64-bit VST3 plugin: If you plan to use this instrument within your DAW (e.g., Cubase, Studio One, etc.) and your DAW supports the VST3 protocol, this is the format you should install. All current VST hosts support the VST3 format. This is the recommended format.
64-bit VST2 plugin: Install this format only if you are still on an earlier DAW version that does not support the VST3 protocol.
64bit AAX plugin: This format is for Pro Tools only. Install if you use Pro Tools.
64bit Standalone App: If you plan to use this instrument as a standalone app without a DAW, you should leave this option checked. If you install the standalone app, shortcuts in the Programs menu and on the Desktop will be created automatically.
Sample Library: This component contains all of the samples required for the instrument to produce sound. If this is the first time you are installing this instrument, you will need to install it, or the instrument will be useless without it.
Make your selection and click NEXT.
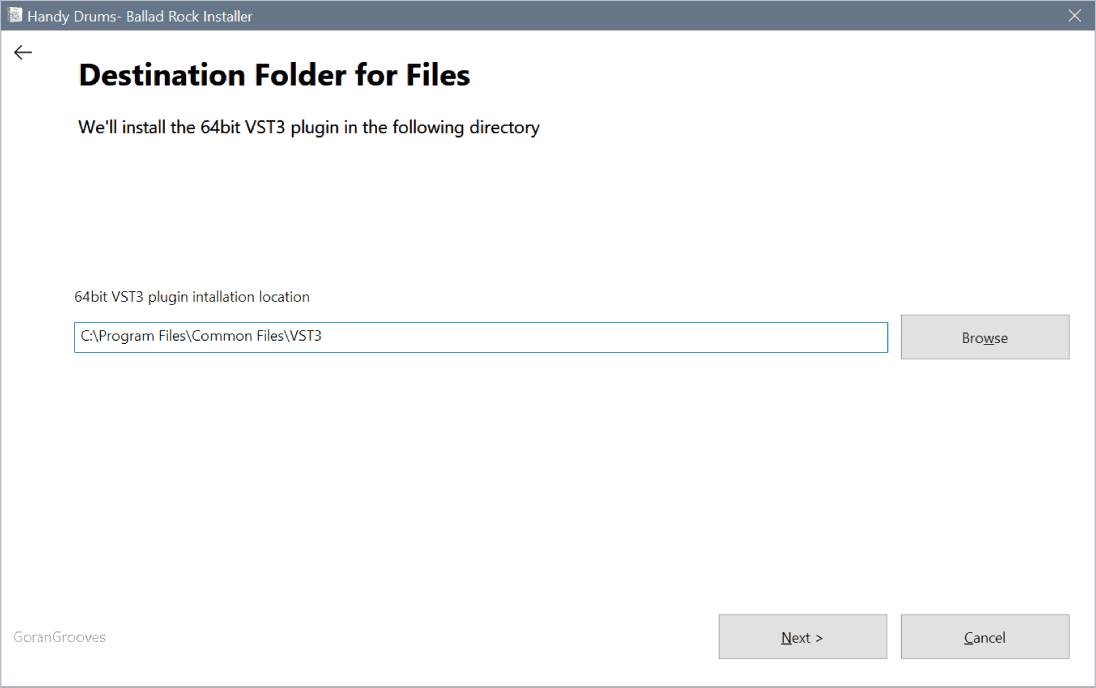
Destination Folder for Files #
You can specify the installation path of each selected component.
However, you do not need to set anything to successfully install any and all instrument components. Simply leave the default values.
If you wish, you only need to specify the top directory where you want components installed. The installer will automatically create the appropriate subfolders GoranGrooves>Handy Drums and place the plugins inside in any case.
Windows Default Installation Locations
#
64bit VST3:
C:\Program Files\Common Files\VST3\GoranGrooves\Handy Drums\
IMPORTANT: Some software, such as Steinberg’s Cubase, does not allow you to specify the VST3 location. Therefore, they will only find plugins located in this default location. We recommend leaving the default location as is. The installer will automatically create the “GoranGrooves\Handy Drums\” portion of the path.
64bit VST2:
C:\Program Files\VSTPlugIns\GoranGrooves\Handy Drums\
Since you can customize a VST2 location folder within most DAW’s, you can choose the location where you have previously installed VST2 plugins if it differs from the default location. The installer will automatically create the “GoranGrooves\Handy Drums\” portion of the path in whatever folder you select.
64bit AAX:
C:\Program Files\Common Files\Avid\Audio\Plug-ins
This is the default plugin location for Pro Tools. Leave as is.
Standalone App:
C:\Program Files\GoranGrooves\Handy Drums\
This is the default Windows installation location for 64-bit apps, so it cannot be customized and is not visible.
Sample Library:
C:\Program Files\GoranGrooves Samples\Handy Drums\
We recommend selecting a fast, solid-state drive for the sample library. It will ensure a quicker loading and smoother playback of samples. The installer will automatically create the “GoranGrooves Samples\Handy Drums\” portion of the path in whatever folder you select.
Application Support data:
C:\Users\YourUserName\AppData\Roaming\GoranGrooves\Handy Drums- Name of The Plugin
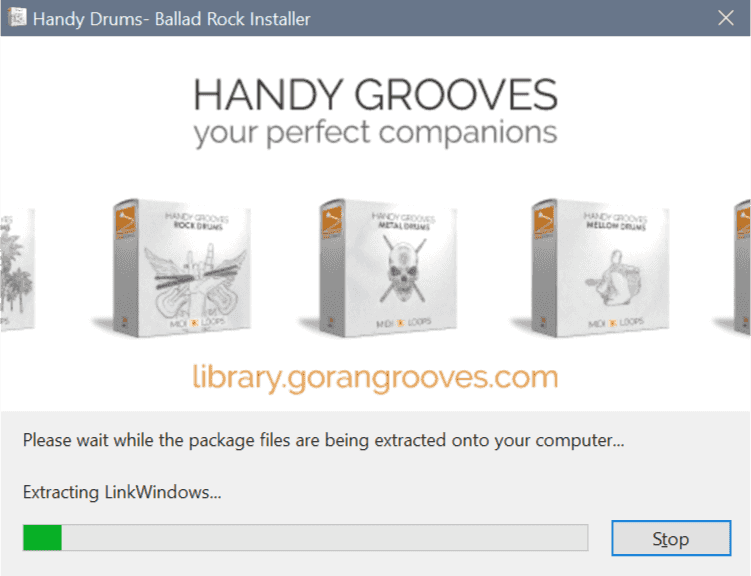
IMPORTANT: For the plugin to find the sample library, the installer will automatically write your chosen path to the application support folder. The file that contains the link is called LinkWindows and is automatically installed with the sample library.
If you manually relocate the sample library, you will need to point the plugin to the new location. See how.
Progress Bar #
The splash screen will display the installation progress.
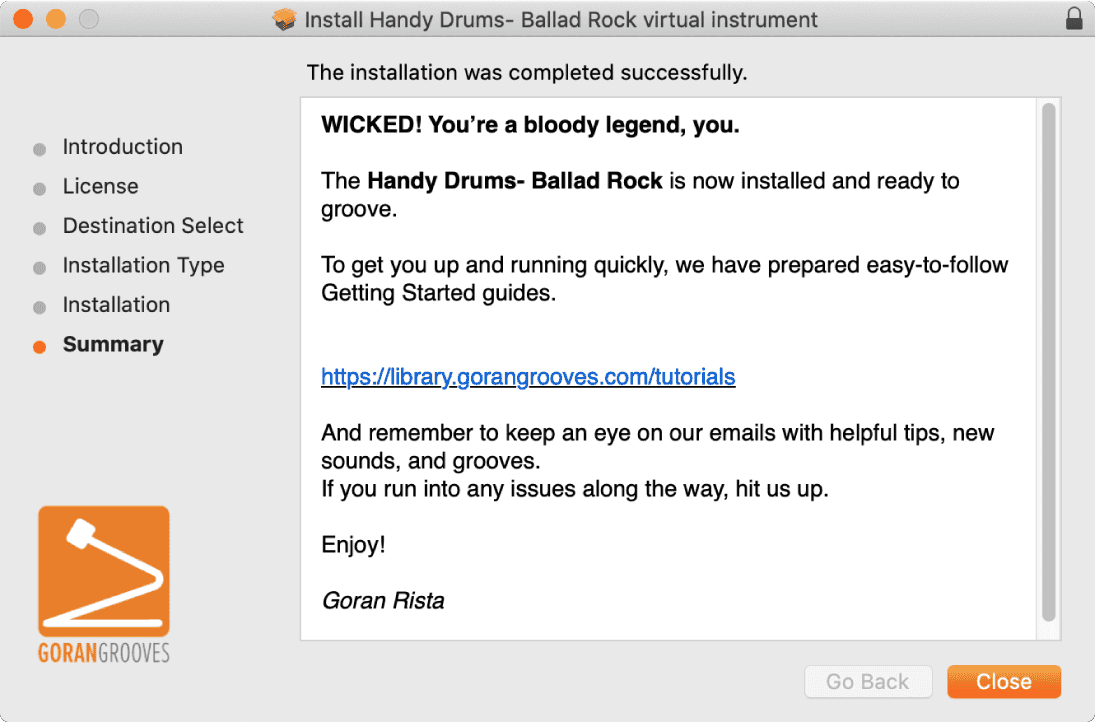
Final #
As you can see on the final page, you successfully installed the plugin.
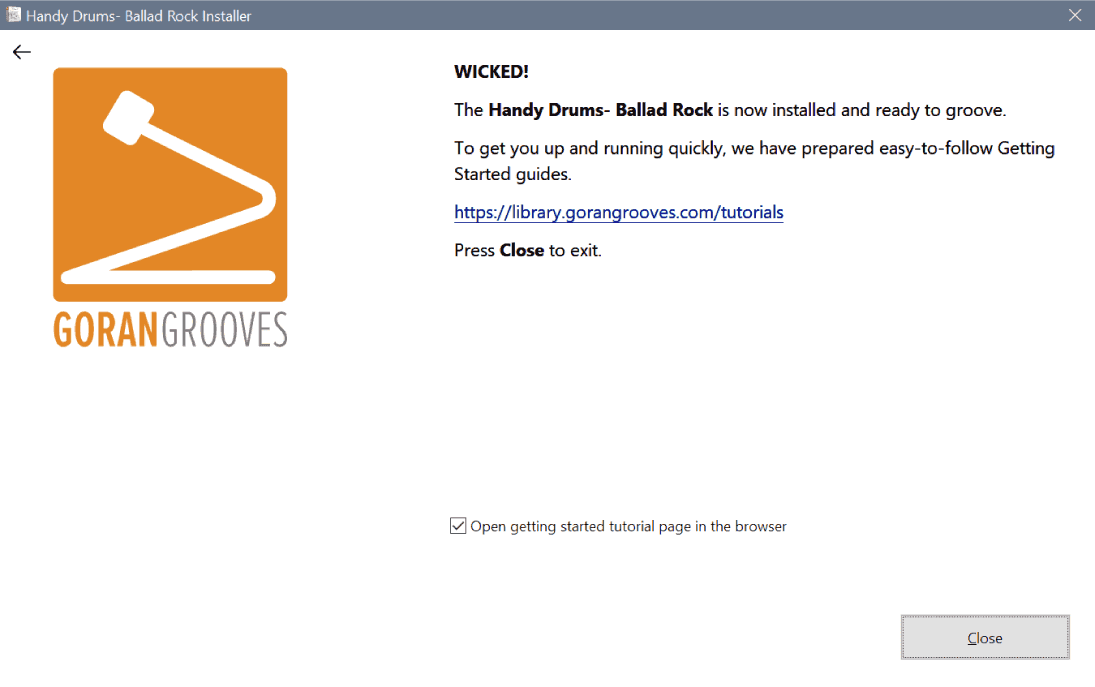
Close the installer and check out the guide on Getting Started With Handy Drums Plugins.
macOS Installation #
Each Handy Drums instrument (i.e., Rock Standard, Retro Custom, etc.) comes in a single installer that contains the following elements:
- VST3 64bit Universal Binary plugin
- VST2 64bit Universal Binary plugin
- AU 64bit Universal Binary plugin
- AAX 64bit Universal Binary plugin
- Standalone App
- Sample Library
The installer allows you to choose what you want to install, but not the installation location, due to a macOS limitation. Each component will be installed in its default location to ensure proper function within DAW’s.
The sample library can be manually relocated after the installation.
See this document for instructions.
Download the macOS Installer #
macOS installer, as well as all other installers for our software, is available in your GoranGrooves Library account.
Login to your GoranGrooves Library account, which was required to complete the purchase.
As soon as you log in, you’ll see the downloads area. For each instrument you purchase, there will be a single DOWNLOAD button. Clicking the DOWNLOAD button displays a pop-up menu to select the version you want to install. If this is your first time installing the software, select the full installer for Mac.
The installer has a .pkg extension and will download to your default download directory, as set in your browser (the Downloads folder).
Make sure the file is completely downloaded before attempting to open it.
Installation Procedure #
Double-click on the installer you just downloaded to launch the installation procedure. Depending on the macOS version, you may be presented with a prompt indicating that Apple has scanned and notarized the app, as it found no malware.
Click OPEN.
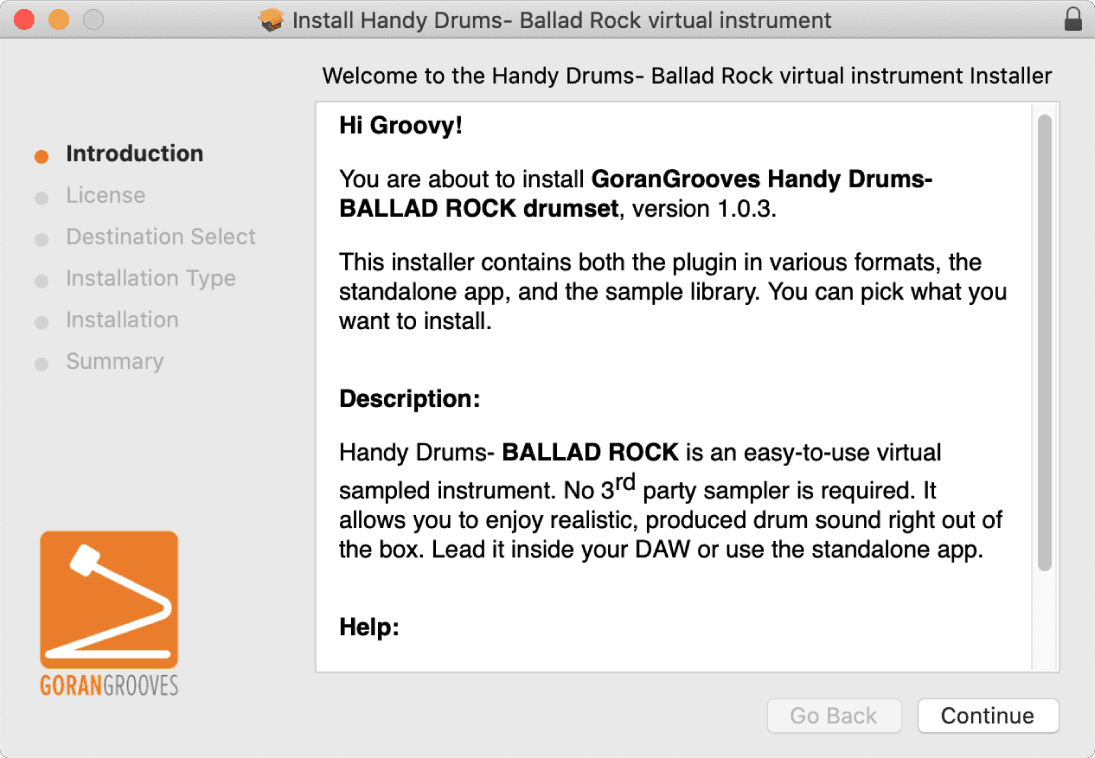
Introduction #
You will be presented with the initial greeting and description.
Click CONTINUE
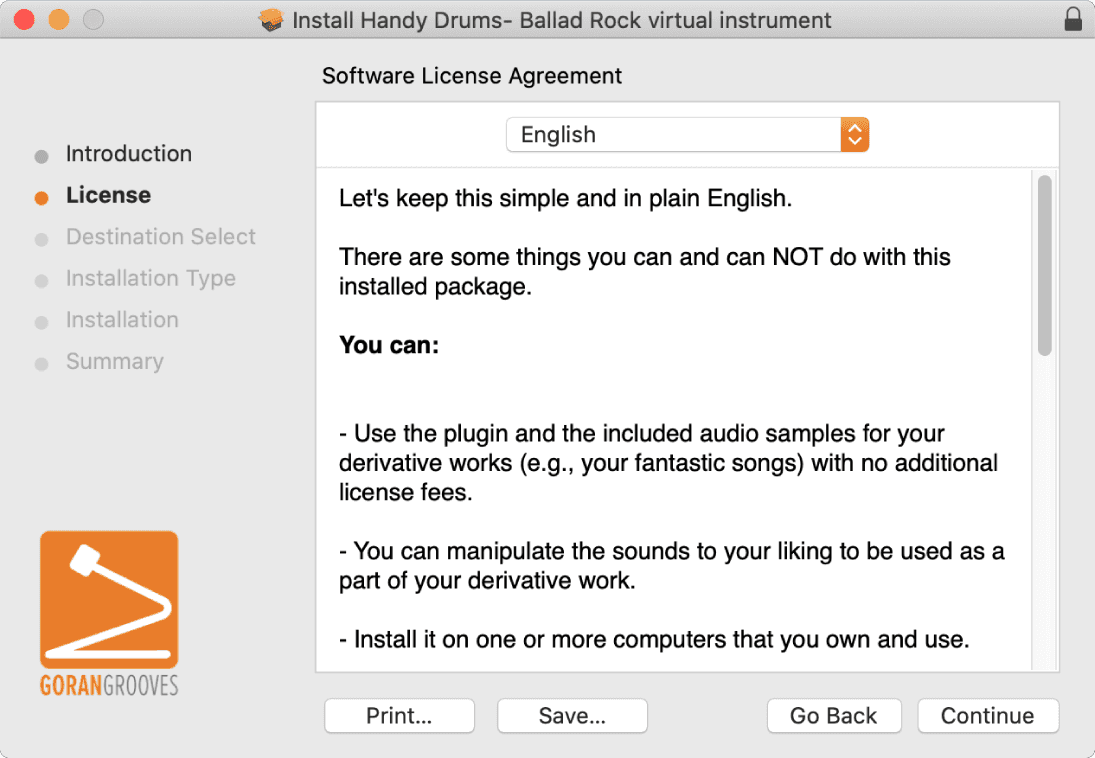
License Agreement #
Please make sure to read this simple license agreement in plain English, which will inform you of the terms and conditions of use.
When done, click CONTINUE to proceed.
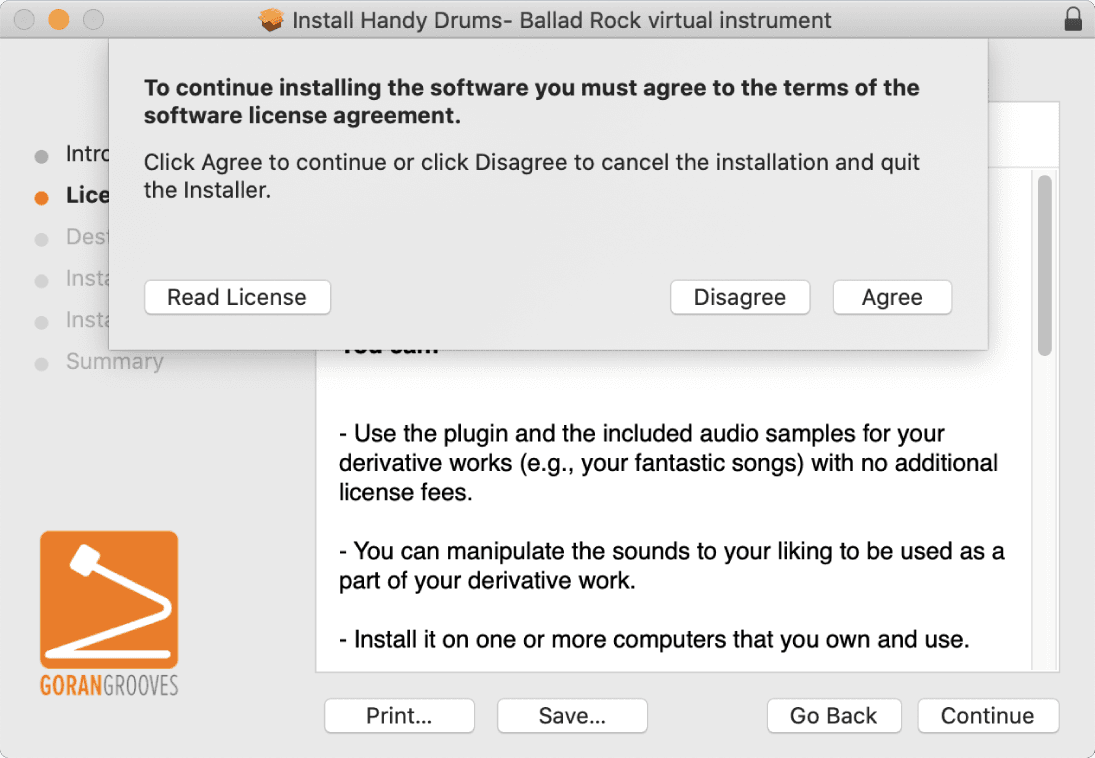
When prompted on the following screen, click AGREE to proceed to the next step.
Installation Type- Select Components To Install #
Here you can choose what to install.
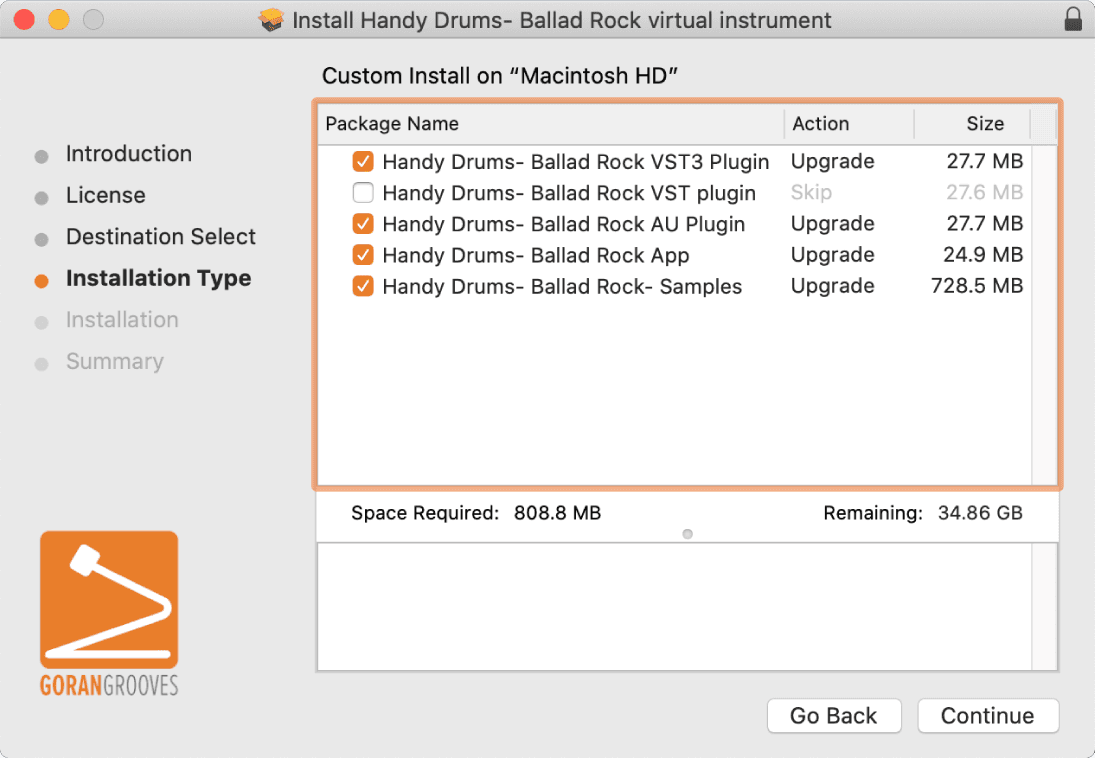
64-bit VST3 plugin: If you plan to use this instrument within your DAW (e.g., Cubase, Studio One, etc.) and your DAW supports the VST3 protocol, this is the format you should install. All current VST hosts support the VST3 format. This is the recommended format. It comes in universal binary form, and you can use it on Intel Macs, as well as M1/M2-powered Macs in Apple Silicon native mode.
64-bit VST2 plugin: Install this format only if you are still on an earlier DAW version that does not support the VST3 protocol. It comes in universal binary form, and you can use it on Intel Macs, as well as M1/M2-powered Macs in Apple Silicon native mode.
64-bit AU plugin: The AU (Audio Units) format is used only by Logic Pro, GarageBand, and MainStage. Install it if you plan to use either of these software programs. It comes in universal binary form, and you can use it on Intel Macs, as well as M1/M2-powered Macs in Apple Silicon native mode.
Note: AU plugins have a .component extension on the computer drive.
64-bit AAX plugin: This format is supported only by Pro Tools, and you should install it if you use Pro Tools. It comes in universal binary form, and you can use it on Intel Macs, as well as M1/M2-powered Macs in Apple Silicon native mode.
64bit Standalone App: If you plan to use this instrument as a standalone app without a DAW, you should leave this option checked. If you install the standalone app, you will find it in the Applications menu/ folder.
Sample Library: This component contains all of the samples required for the instrument to produce sound. If this is the first time you install this instrument, you will need to install it, or the instrument will be useless without it.
Additionally, the installer will install the linkOS file in the Application Support folder, which tells the plugin where to locate the sample library. It will also install the plugin’s default preset in the same folder.
Make your selection and click CONTINUE.
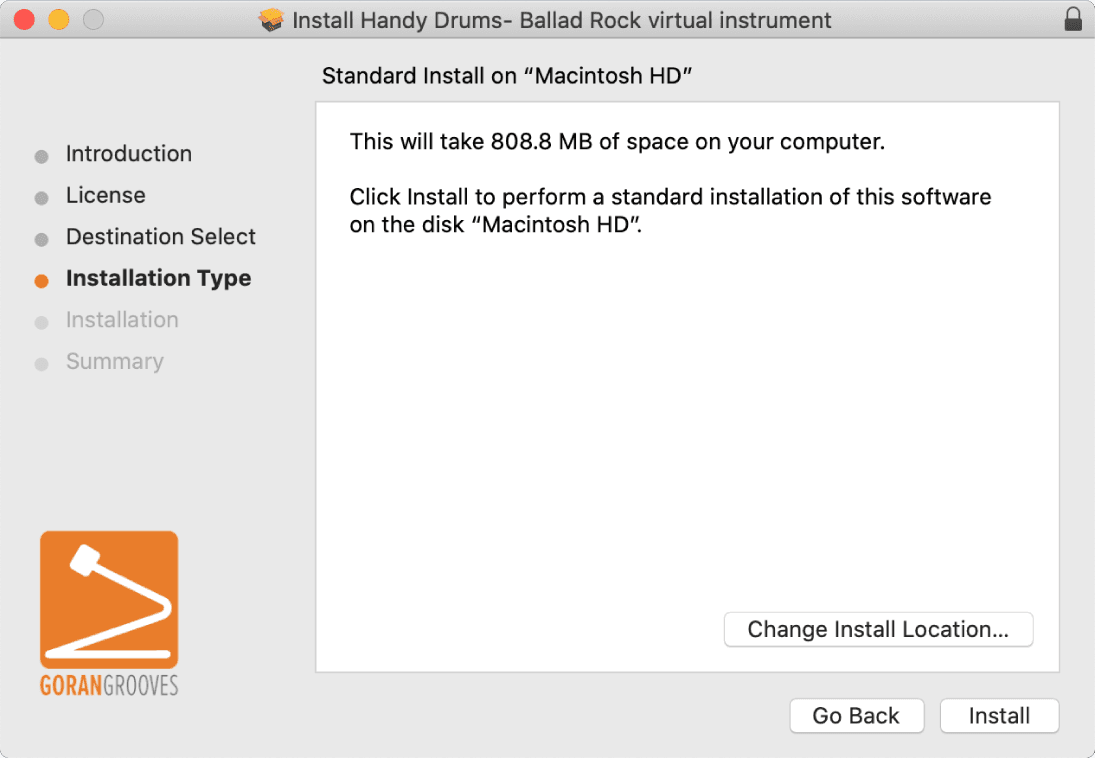
When presented with the overview on the following page, click INSTALL to proceed.
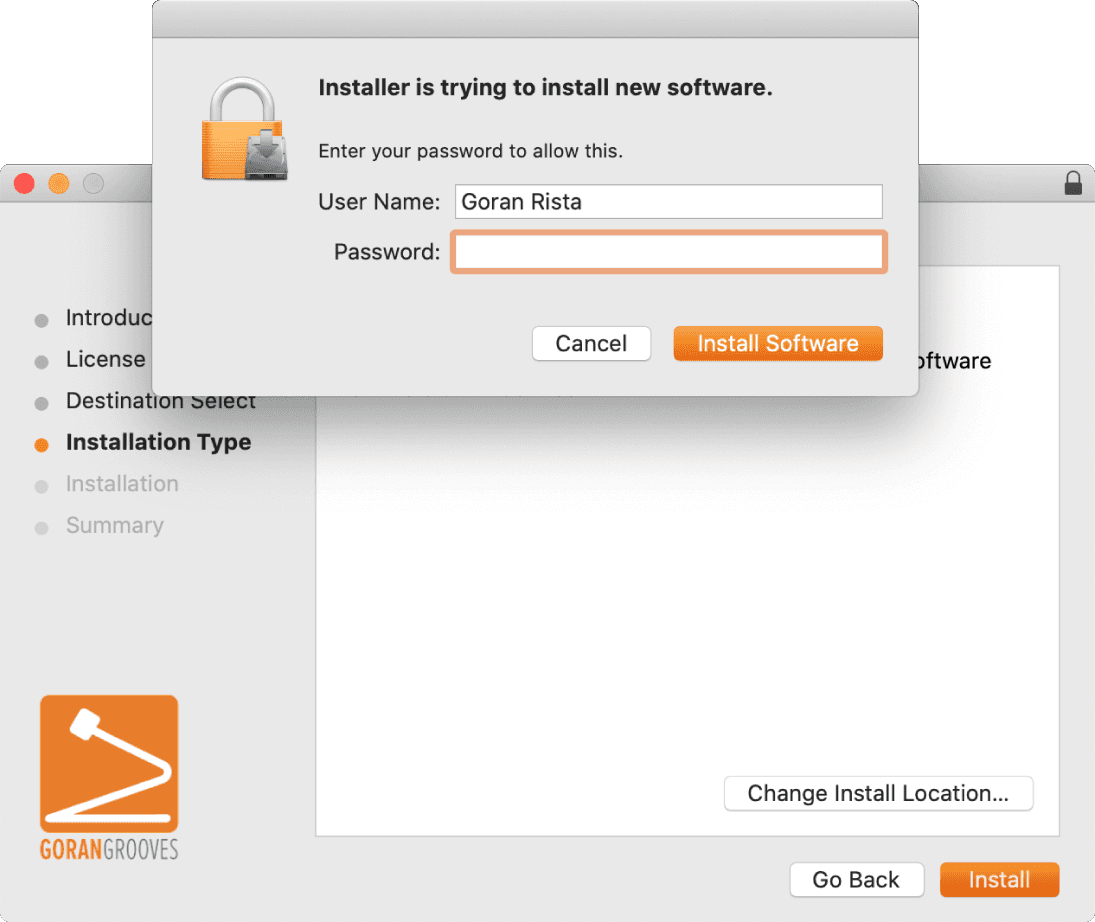
Grant Admin Permission For The Installation
You will be prompted to enter your password before the installer can proceed. This is the same password you enter in your Mac when your system boots up.
Enter the password, then click INSTALL SOFTWARE to begin the installation.
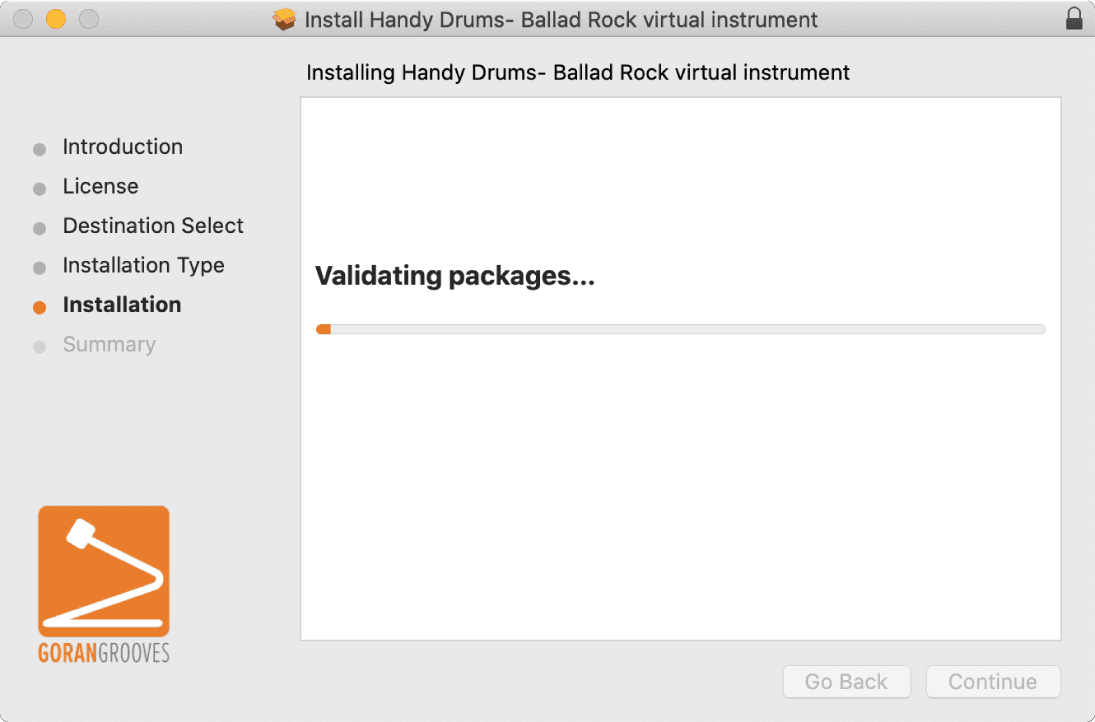
Installation #
While the process takes place in the background, you will see a progress bar.
macOS Default Installation Locations #
The selected components will be installed in the following locations on your Macintosh HD.
VST3 Plugin:
Mac HD > Library > Audio > Plug-Ins > VST3 > GoranGrooves > Handy Drums
VST2 Plugin:
Mac HD > Library > Audio > Plug-Ins > VST > GoranGrooves > Handy Drums
AU Plugin:
Mac HD > Library > Audio > Plug-Ins > Components
AAX Plugin:
Mac HD > Library > Application Support > Avid > Audio > Plug-Ins > GoranGrooves > Handy Drums
Standalone App:
Mac HD > Applications > GoranGrooves > Handy Drums
Sample Library:
Mac HD > Library > GoranGrooves Samples > Handy Drums > Name Of The Plugin
Application support data:
Mac HD > Users > YourUserName > Library > Application Support > GoranGrooves > Handy Drums- Name of the plugin
IMPORTANT: The installer will automatically write the sample library path to the application support folder for the plugin to find the sample library. The file that contains the link is called LinkOSX and is automatically installed with the sample library.
Suppose you manually relocate the sample library after the installation. In that case, you will need to point the plugin to the new sample library location. See how.
Summary #
As you can see on the final page, you successfully installed the plugin. Close the installer and check out the guide on Getting Started With Handy Drums Plugins.