Overview #
Starting with v2.0, Handy Grooves now come with installers for both Windows and MacOS, so you can get going even faster. That is the recommended option for our customers using Handy Drums virtual instruments.
ZIP archives are also provided for users of 3rd party virtual drum plugins.
You can select which option to download from your GoranGrooves Account.
Download Installer #
In your GoranGrooves Library account Download section, select the platform for which you want to download the installer, either Windows or MacOS.

The installer will download to the default download location as set by your browser. These installers are small in size, so the download will complete quickly.
The installers will extract MIDI loops in pre-determined locations, which will be automatically found by all Handy Drums v2.0+ plugins. They will be instantly accessible to you through the built-in MIDI Loop Browser without having to be searched for.
Additionally, the installer will place a shortcut to the installation directory on your desktop.
Windows Installation #
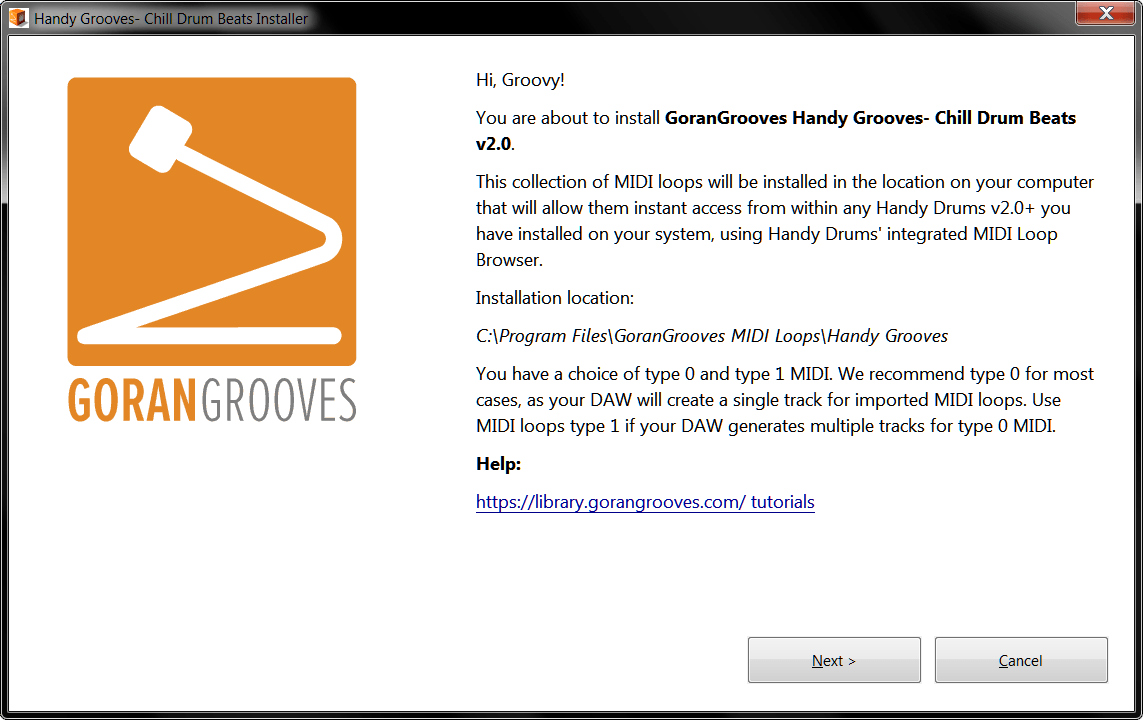
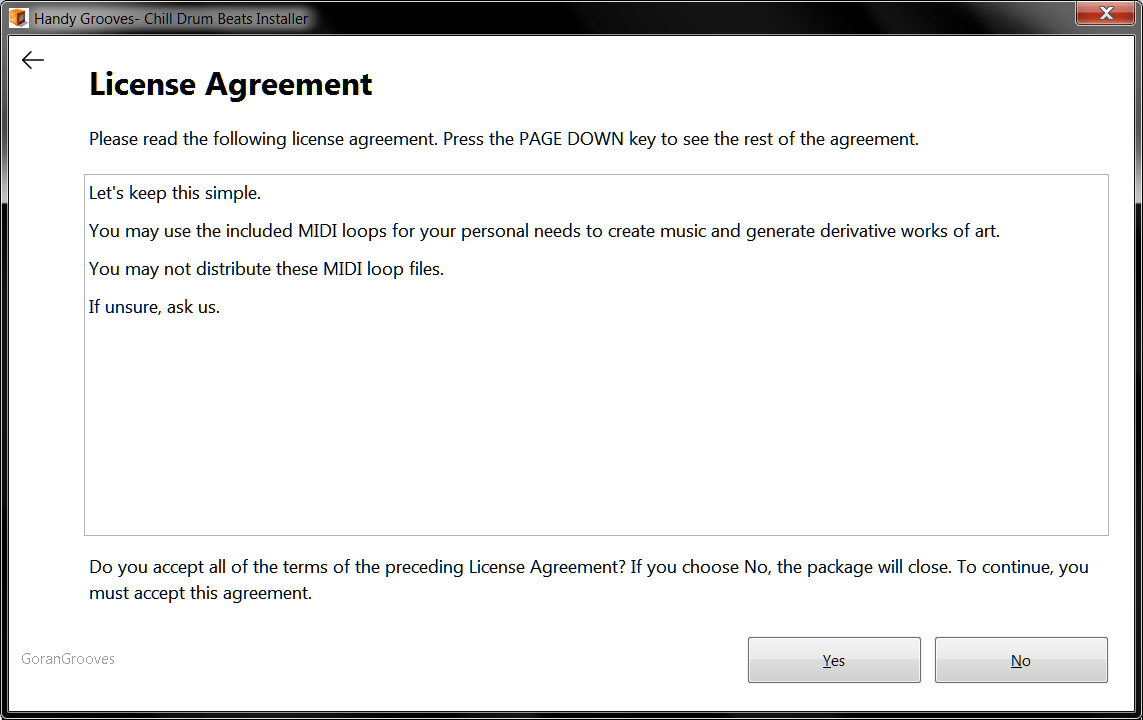
Step 1 #
Run the installer and accept the license agreement:
Step 2 #
Choose which components to install:
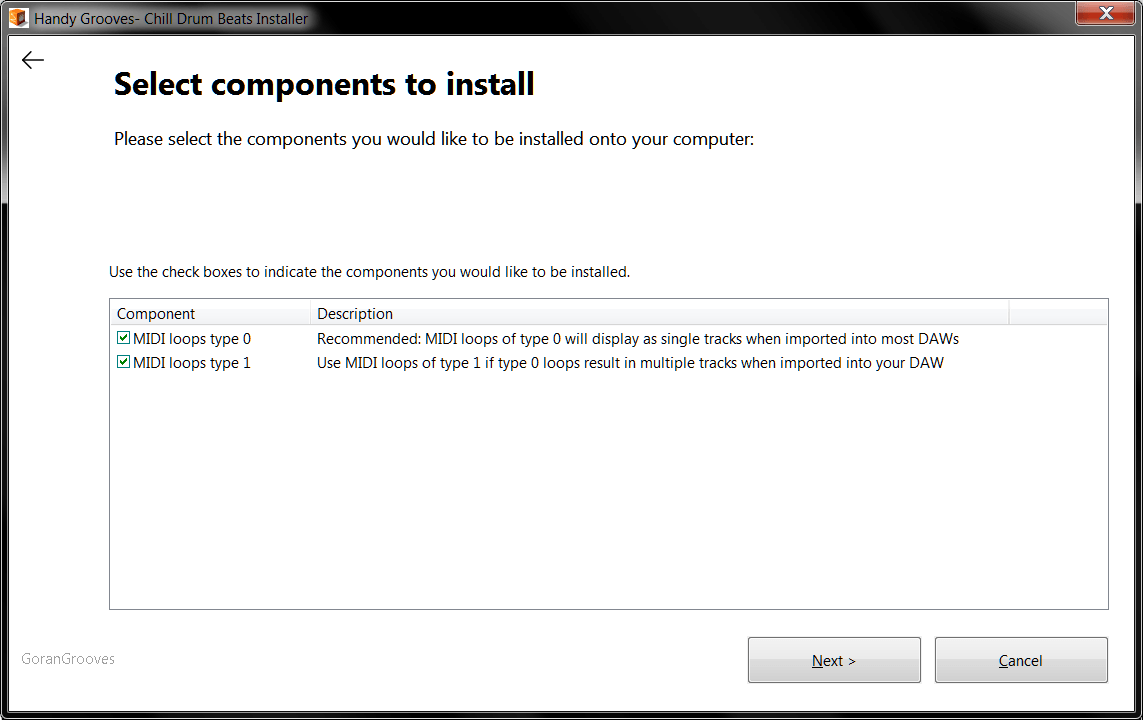
- MIDI loops type 0 (Recommended)
MIDI loops of type 0 will display as single tracks when imported to most DAWs.
- MIDI loops type 1
Use MIDI loops of type 1 if type 0 loops result in multiple tracks when imported into your DAW.
Step 3 #
All done!
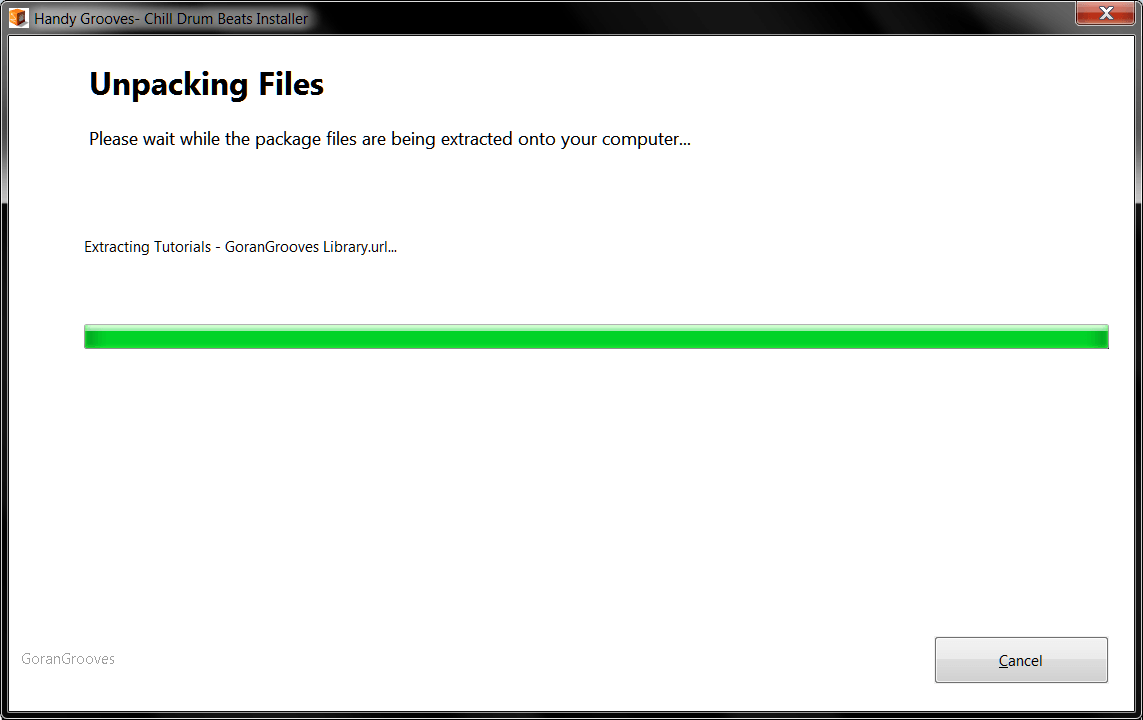
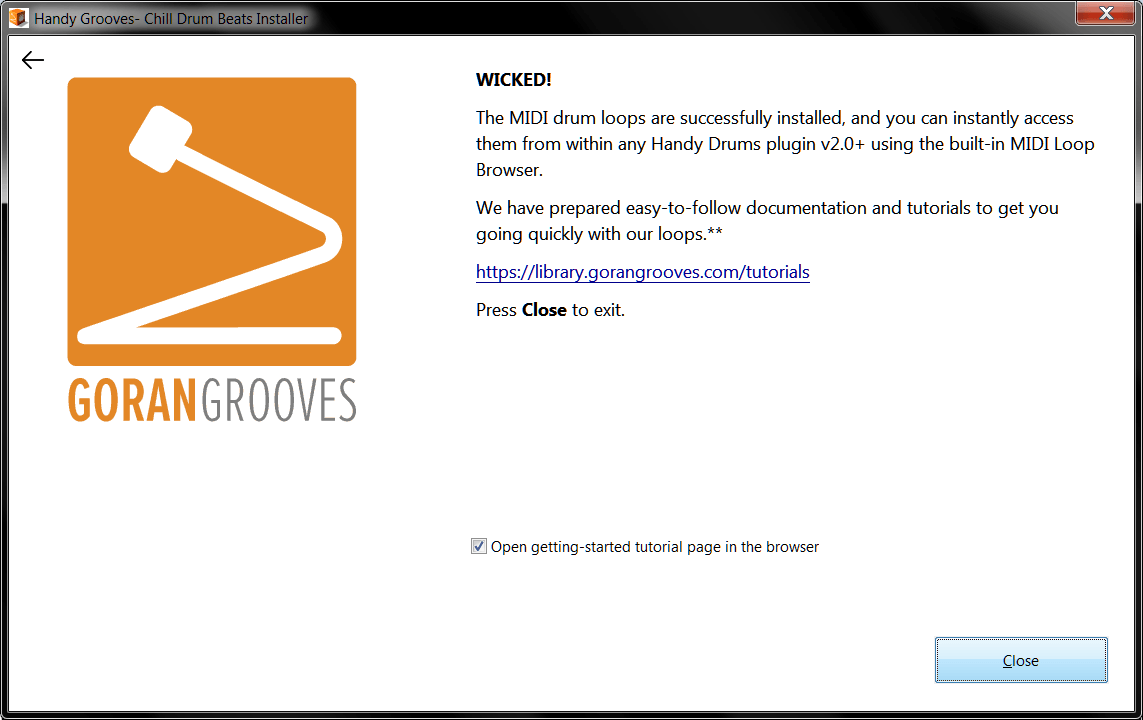
You are now ready to use them. A shortcut to the loops’ installation directory was placed on your desktop.

To get going quickly with the loops, check out Getting Started With Handy Grooves.
MacOs Installation #
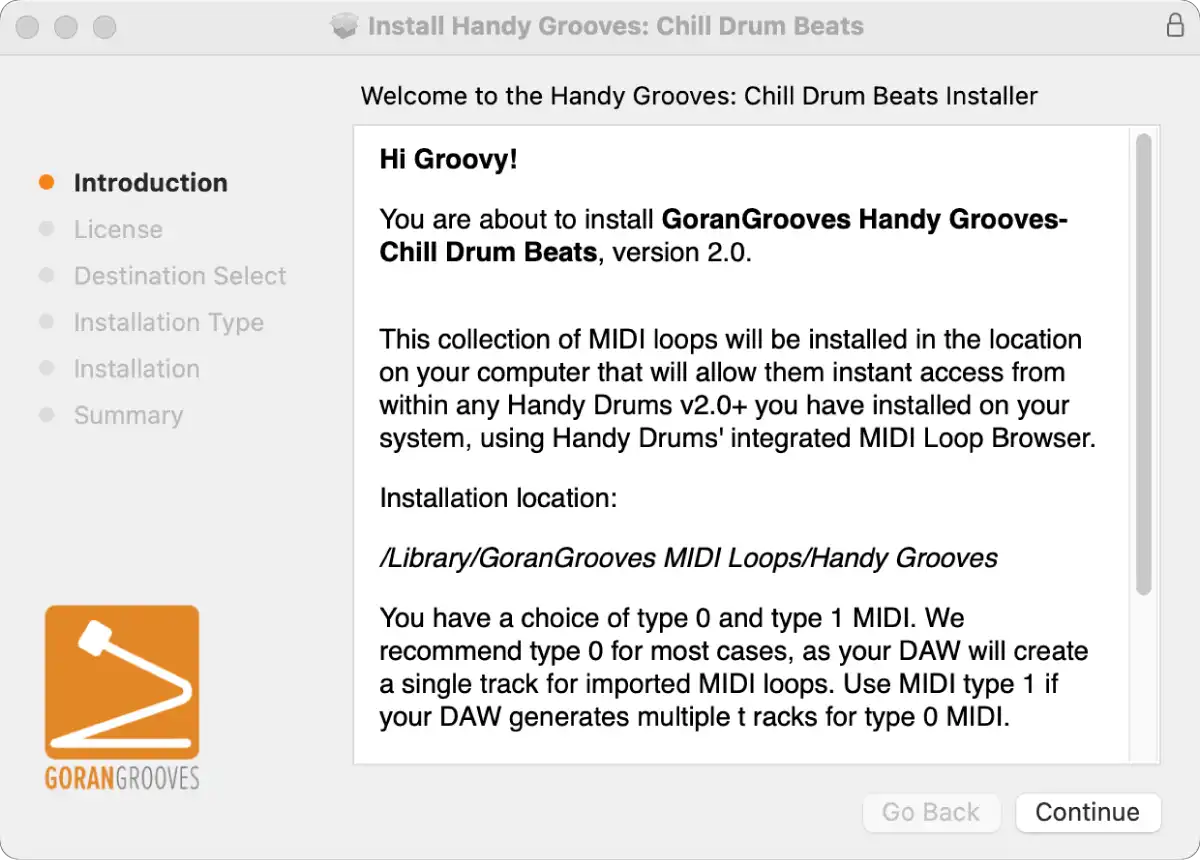
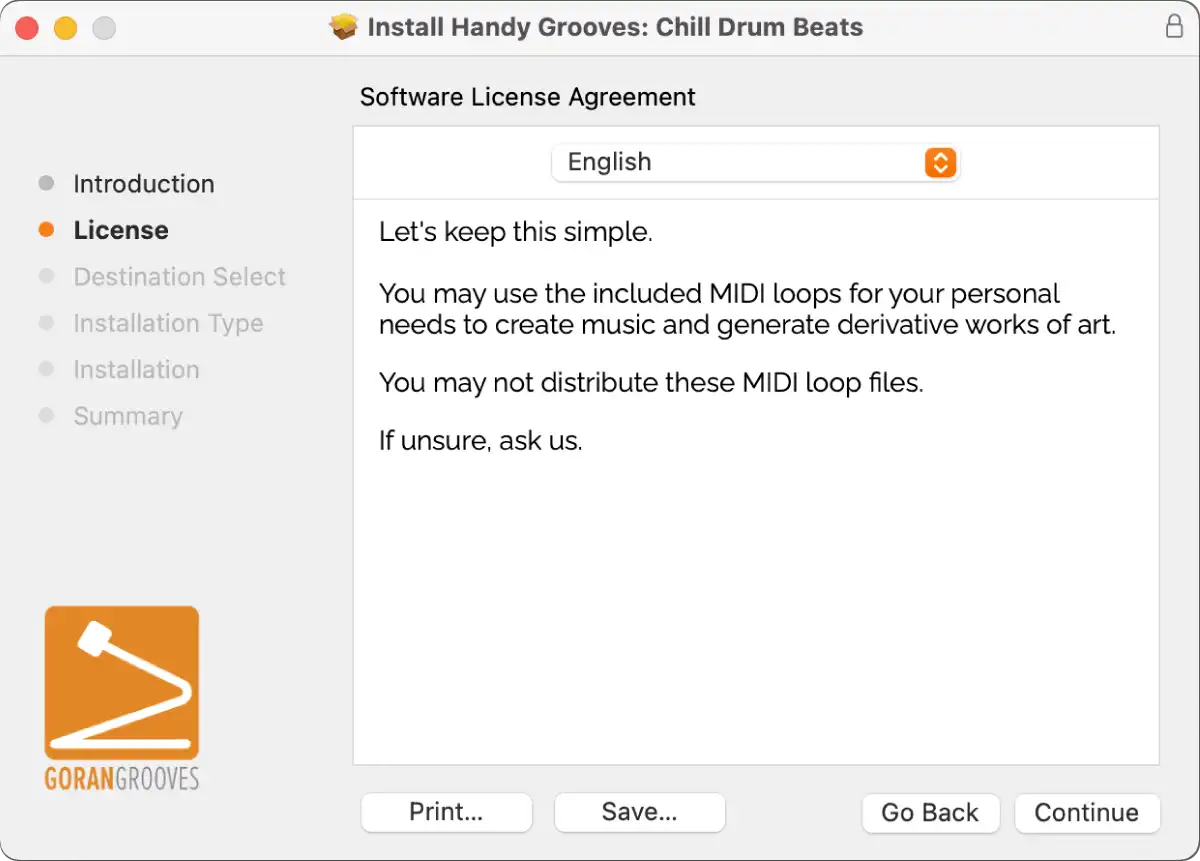
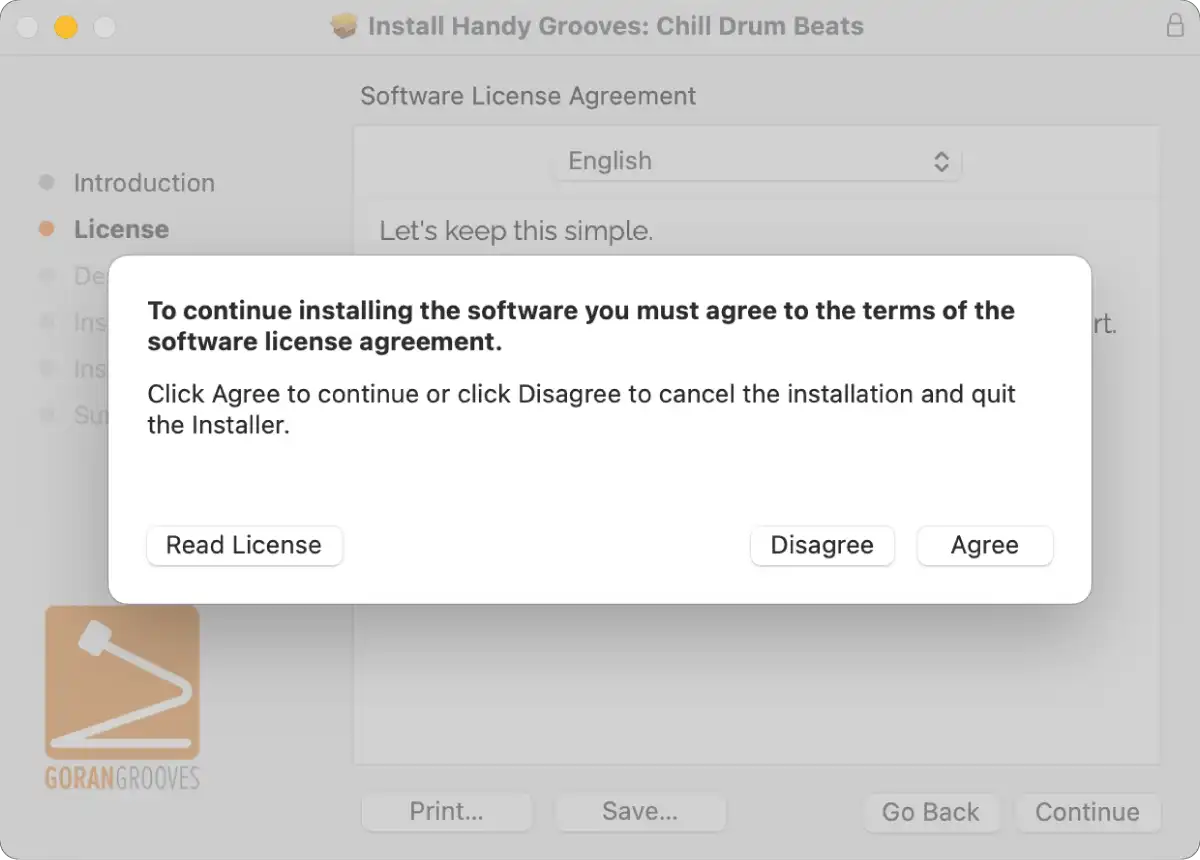
Step 1 #
Run the installer and accept the license agreement:
Step 2 #
Select the components you wish to install.
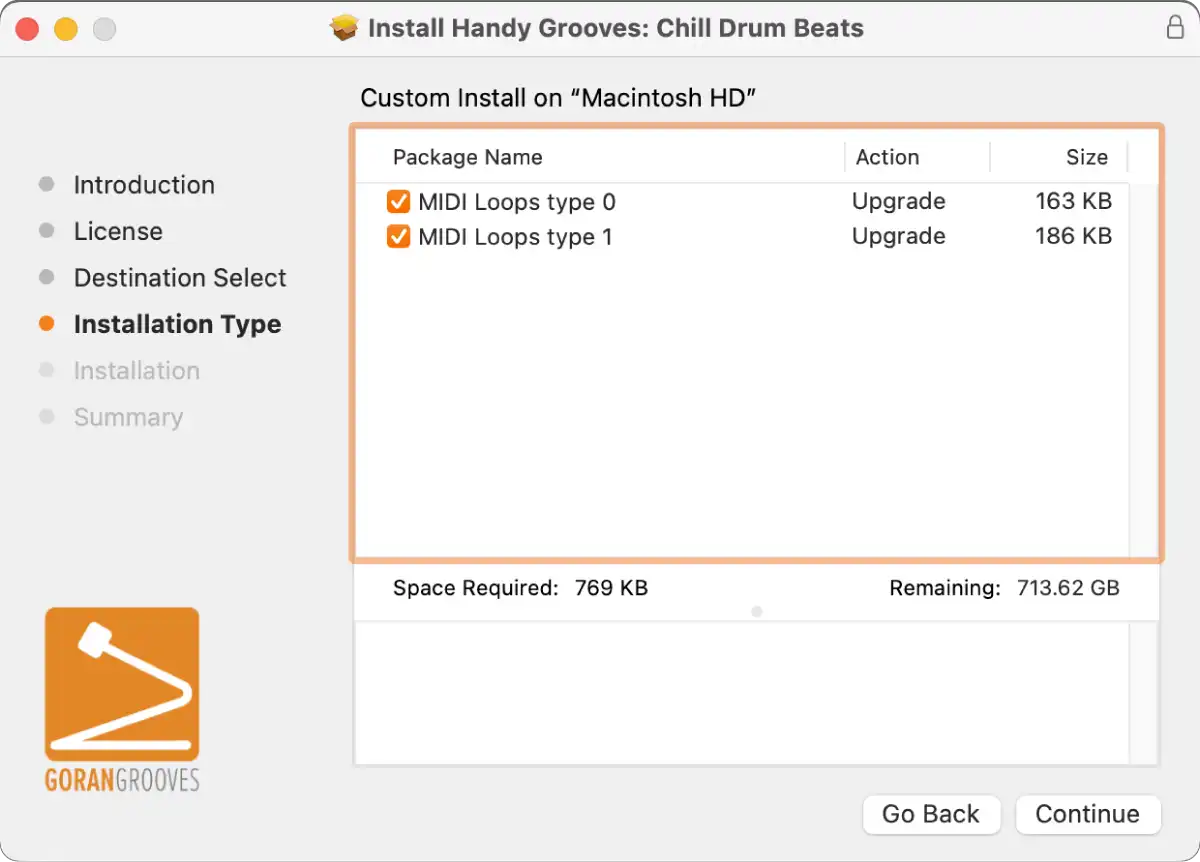
- MIDI loops type 0 (Recommended)
MIDI loops of type 0 will display as single tracks when imported to most DAWs.
- MIDI loops type 1
Use MIDI loops of type 1 if type 0 loops result in multiple tracks when imported into your DAW.
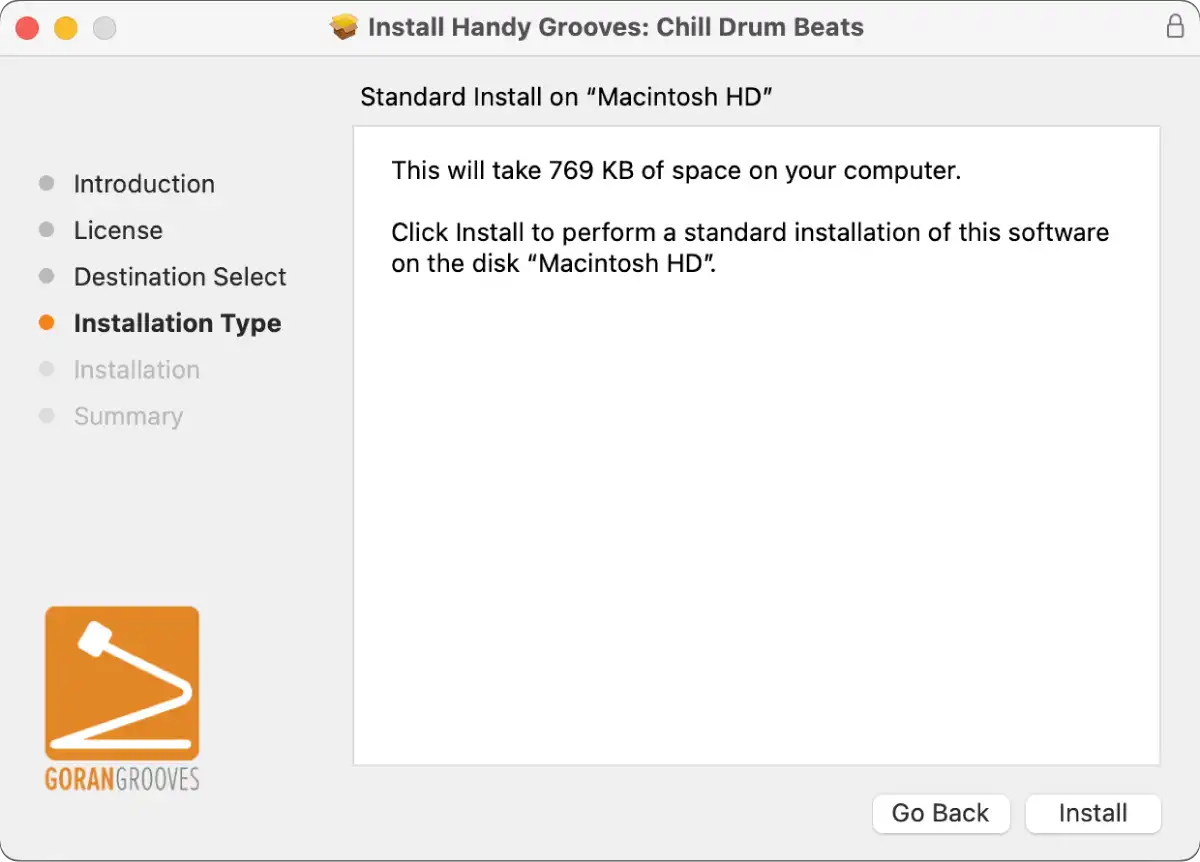
Click “Install” on the summary page.
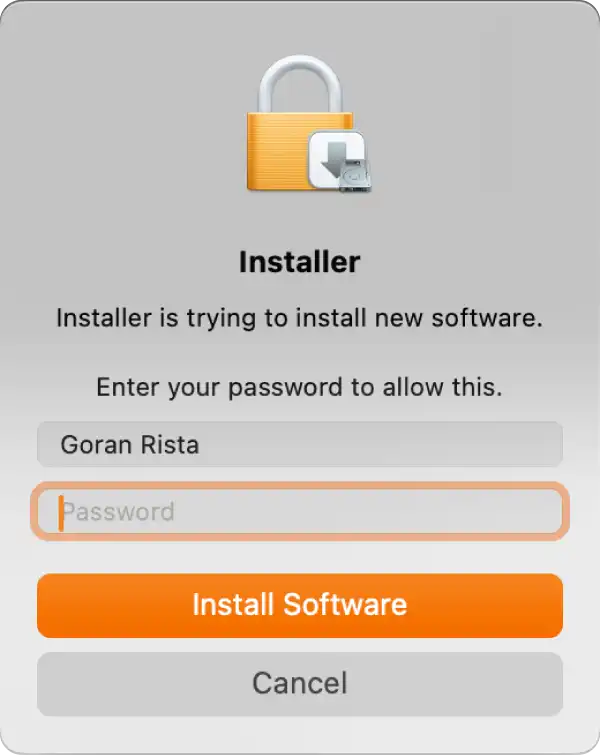
When prompted, enter your Mac’s username and password to grant the installer the necessary permission to install the components.
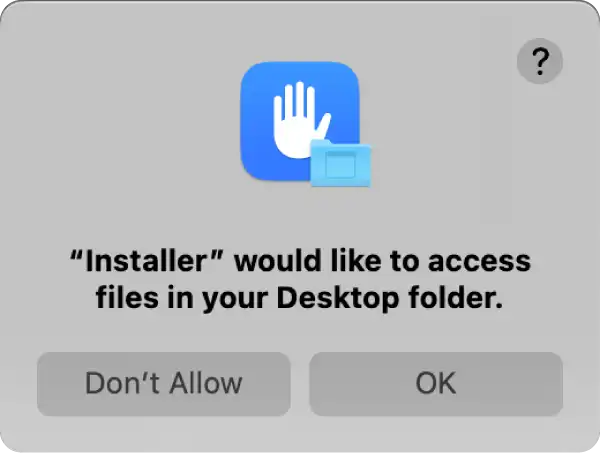
Step 3 #

When prompted, grant the installer permission to place the shortcut on your desktop for the loops’ installation directory.
Step 4 #
All done!
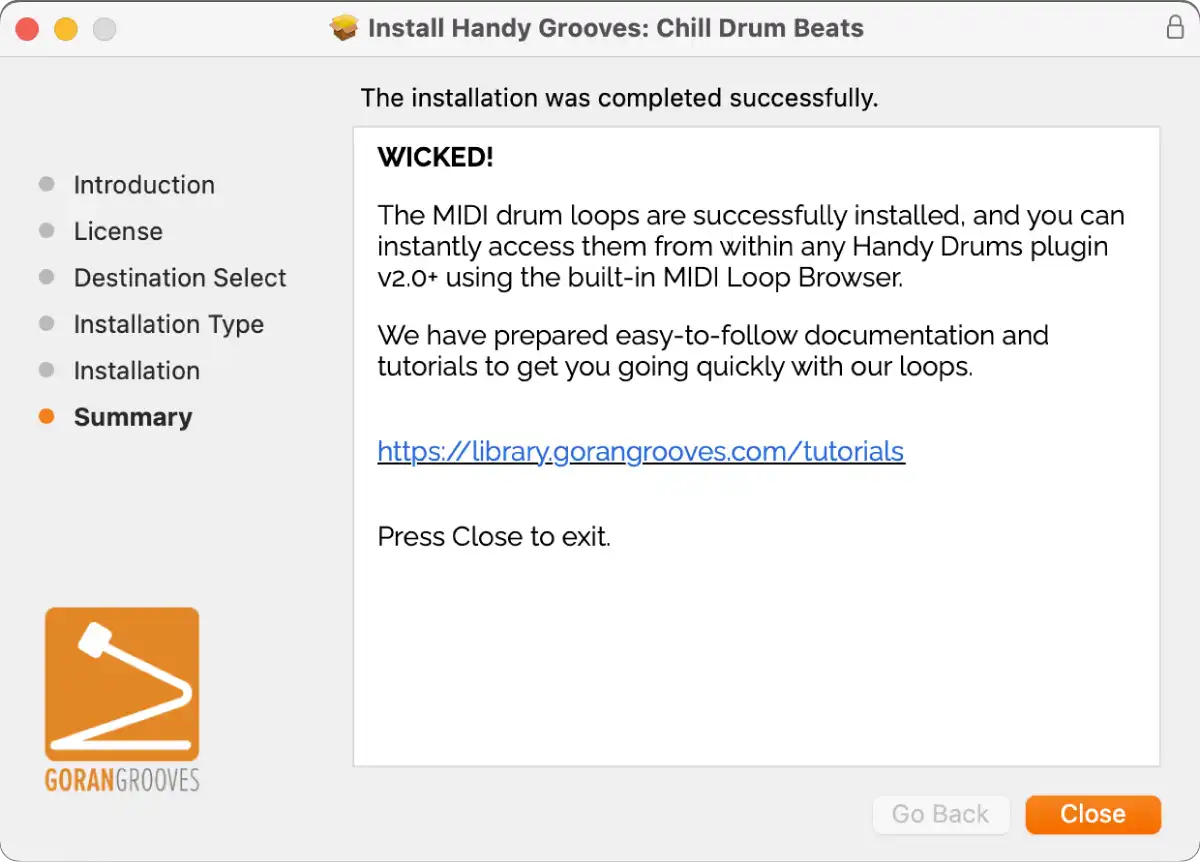
You are now ready to use them. A shortcut to the loops’ installation directory was placed on your desktop.
To get going quickly with the loops, check out Getting Started With Handy Grooves.
Installation Locations #
Windows:
C:\Program Files\GoranGrooves MIDI Loops\Handy Grooves
MacOS:
MacintoshHD/Library/GoranGrooves MIDI Loops/Handy Grooves
ZIP Archive Method (for users of 3rd party VI drums) #
An alternative way is to download a .zip archive and extract it to a location of your choice.

Of course, you can also extract it to the location mentioned above so that your Handy Drums Instruments will find it automatically.
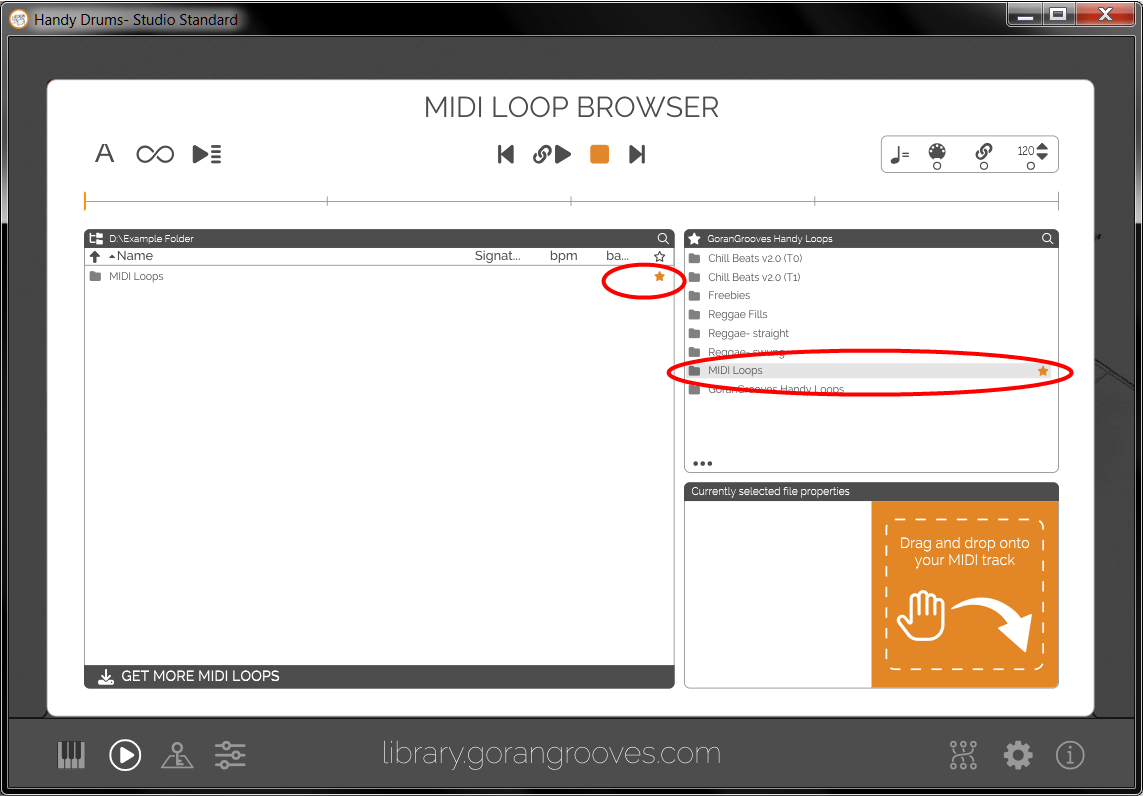
If you choose to install to a different directory than the default one but still wish to use it with Handy Drums v2.0+ Instruments, use the Handy Drums’ MIDI Loop Browser to navigate to your custom location, for example:
D:\Example Folder\MIDI Loops
You can then “favorite” that folder by clicking on the “star” for easy access in the future.
The folder will then be visible in the browser’s “favourites” section, and you can access it with a single click.
To get going quickly with the loops, check out Getting Started With Handy Grooves.