Introduction #
The instructions in this document apply to installing drum beat/ song packs for BeatBuddy purchased at GoranGrooves Library. They do not apply to BeatBuddy beat packs purchased elsewhere.
Instructions for installing Handy Grooves MIDI packs can be found here.
Important Information #
- All GoranGrooves beat packs for BeatBuddy come with installers for Windows and MacOS systems.
You do not need to use any other software to install our content for BeatBuddy onto your SD card.
- The installers will install the collections of BeatBuddy songs directly onto your SD card containing an existing BeatBuddy Project. You can not install them to any project outside the selected drive’s root directory.
- The BB songs will be placed in a dedicated folder. The newly added collection will be appended to the bottom of the content available in your BeatBuddy Project.
If the installer is replacing an existing collection, the content will not be appended to the bottom of the project but updated in its existing location within the project.
- For the installation to succeed, the SD card must contain a valid BeatBuddy Project. If it does not, installation will not be initiated. The installers have checks in place to ensure you are installing to an existing project.
- In addition to the installers, you also have access to the MIDI source files used to create the BB songs. They are provided in a ZIP archive and can not be added directly to your SD card. You can use them to compose new BB songs using dedicated BB software or inside a DAW with virtual drum instruments.

IMPORTANT: If your BeatBuddy Project already contains the song pack you are installing, the existing folder will be overwritten. If the collection name differs from the one previously installed, it will be updated. This can not be undone.
Installation on Windows OS #
Step 1- Download the product #
Download the song/ beat pack you purchased for BeatBuddy from your GoranGrooves Library account.
Click on the large DOWNLOAD button for the product.
A popup menu will allow you to select the operating system you use to install the product. Navigate to the “Windows: Install directly on SD card” folder and click on the file within it.

Since the file size is very small, the download should complete momentarily, and you will find the downloaded file in your default download directory as set by your browser.
Step 2- Insert the SD Card into the card reader #
Insert an SD Card into the card reader connected to your PC.
This can be the SD card that came with your BeatBuddy, or another SD card. For better performance, faster read and write times, we recommend a “Class 10” SD card of at least 4GB in size.
In either case, the SD card must contain an existing BeatBuddy Project. For the latest GoranGrooves Default Content v2.2 for BeatBuddy, go here.
Step 3- Launch the installer #
Double-click on the installer you downloaded in step 1.
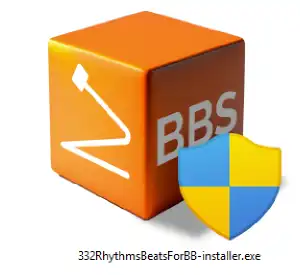
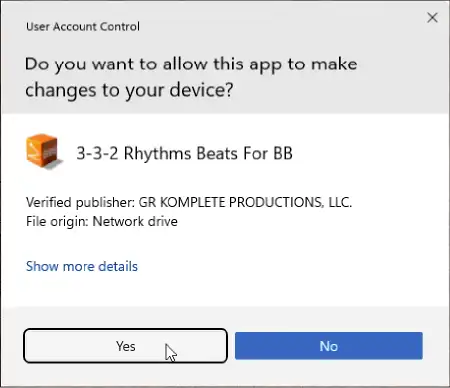
When the Windows security warning pops up asking if you wish to allow the app to make changes to your computer, click YES.
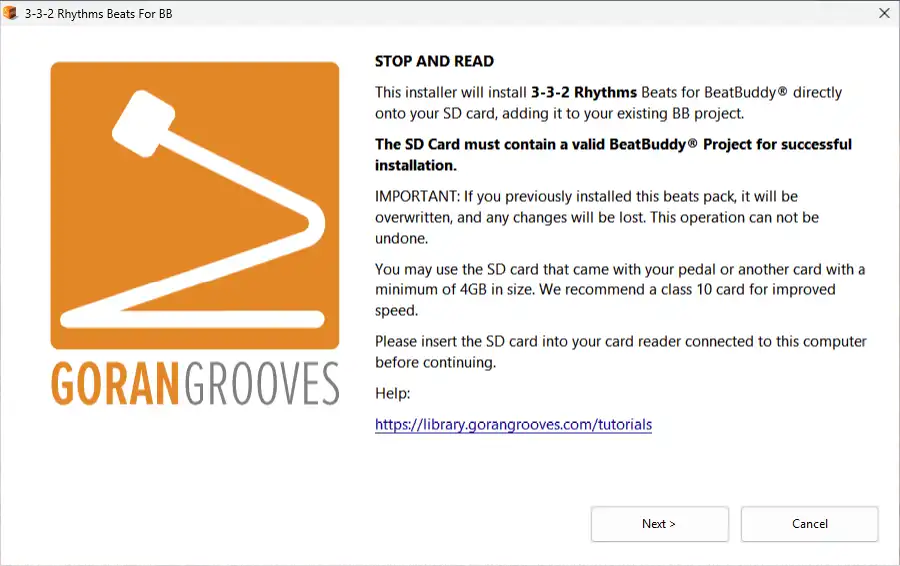
After a few moments, you will be presented with the installation dialog, which will guide you through the step-by-step process.
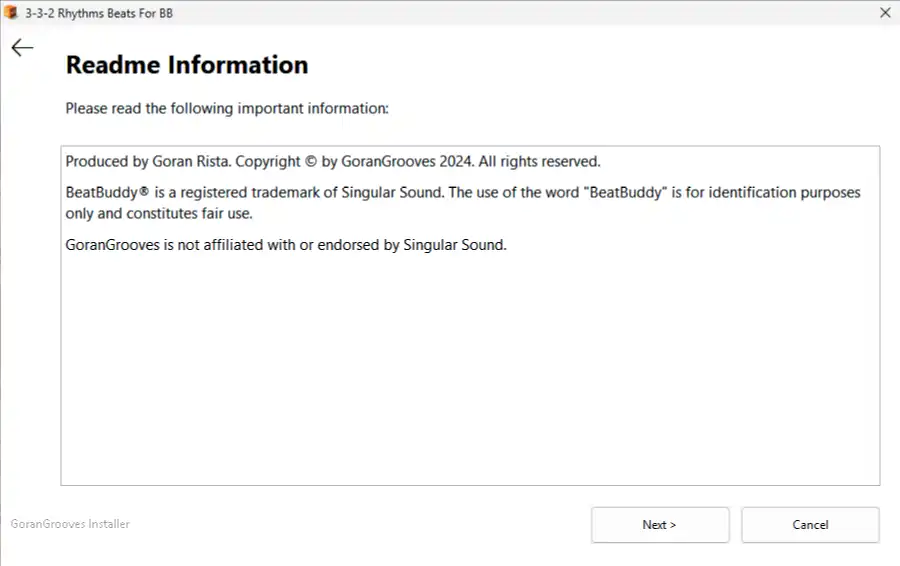
Read the brief legal information and proceed to the next step by clicking on the NEXT button.
Step 4- Select your USB drive with an SD card #
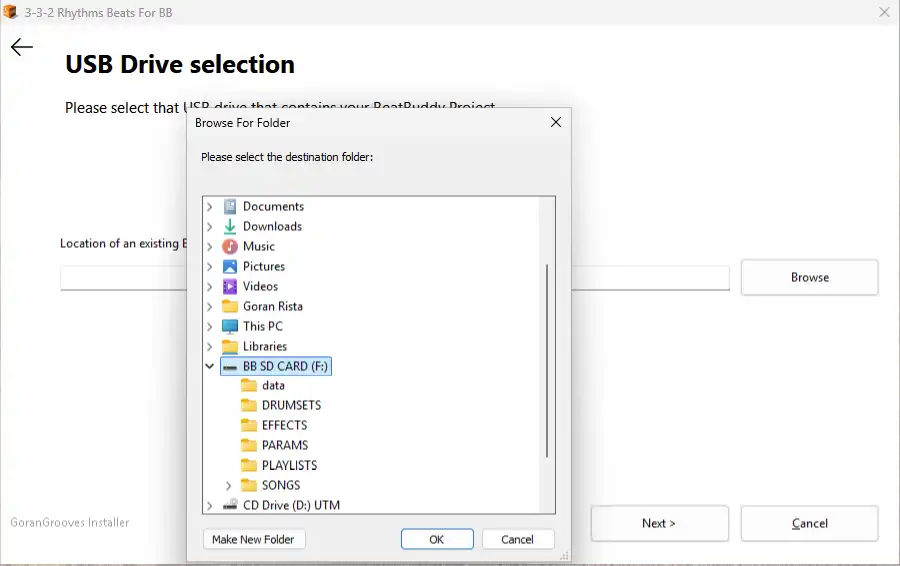
When prompted, navigate to your SD card drive.
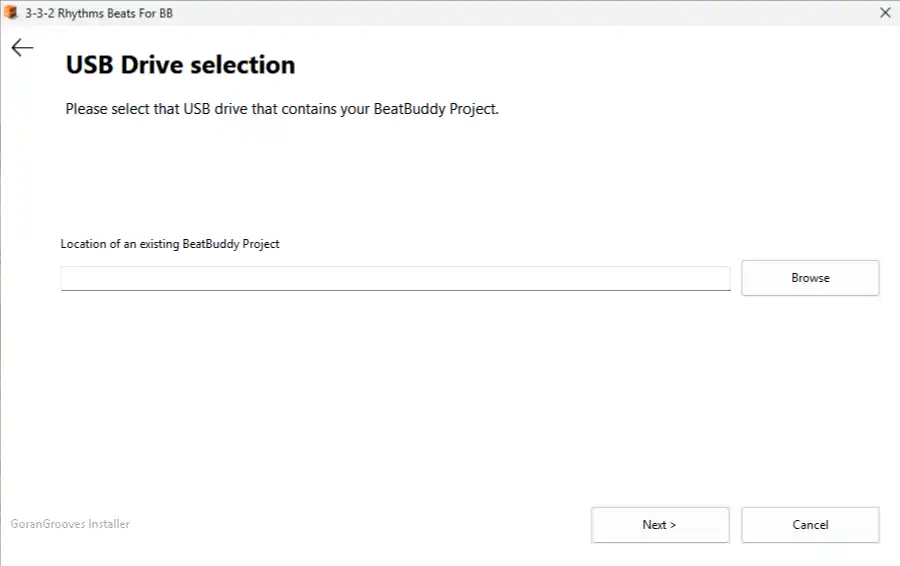
IMPORTANT: The installer will look for a BeatBuddy Project located in the root directory of your selected drive, regardless of which directory you navigate to on the drive. For example, if you navigate to “G:\Some folder\Another Folder\My BB Project\”, the installer will look for a BeatBuddy Project at “G:\”.
If no valid project is found in the root directory, the installer will prompt you to select the drive again and continue to do so until a valid drive is selected or you quit the installation.
Step 5- Installation #
Since the installer contents are small, the installation should be completed in a few moments.
Upon successful installation, you will be presented with the success message.
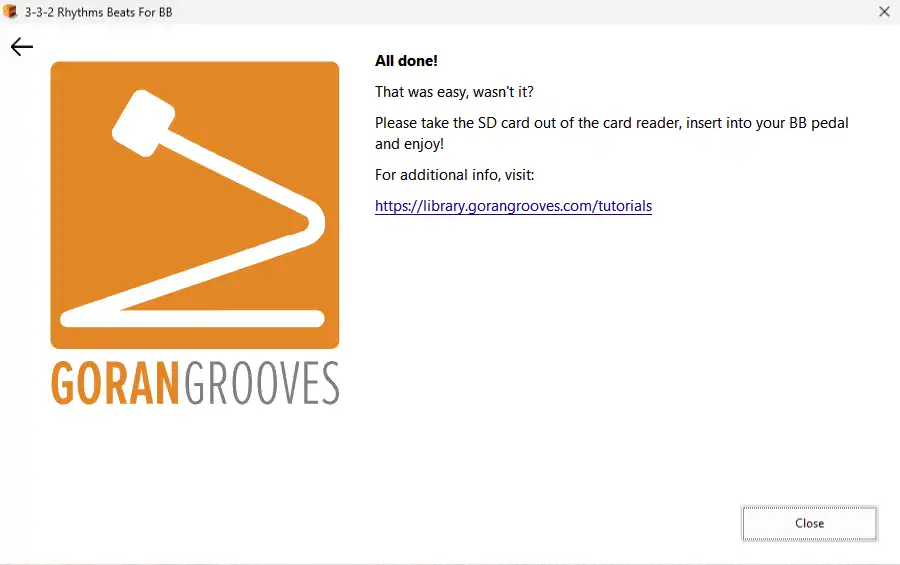
Take the SD card out of your card reader, insert it into your BeatBuddy, and enjoy.
Remember that the newly installed content is at the bottom of the list of available content on your pedal.
Installation On MacOS #
Step 1- Download the product #
Download the song/ beat pack you purchased for BeatBuddy from your GoranGrooves Library account.
Click on the large DOWNLOAD button for the product.
A popup menu will allow you to select the operating system you use to install the product. Navigate to the “MacOS: Install directly on SD card” folder and click on the file within it.

Since the file size is very small, the download should complete momentarily, and you will find the downloaded file in your default download directory as set by your browser.
Step 2- Insert the SD Card into the card reader #
Insert an SD Card into the card reader connected to your Mac.
This can be the SD card that came with your BeatBuddy, or another SD card. For better performance, faster read and write times, we recommend a “Class 10” SD card of at least 4GB in size.
In either case, the SD card must contain an existing BeatBuddy Project. For the latest GoranGrooves Default Content for BeatBuddy v2.2, go here.
Step 3- Launch the installer #
Double-click on the installer you downloaded in step 1.
You will be presented with the installation dialog, which will guide you through the step-by-step process.
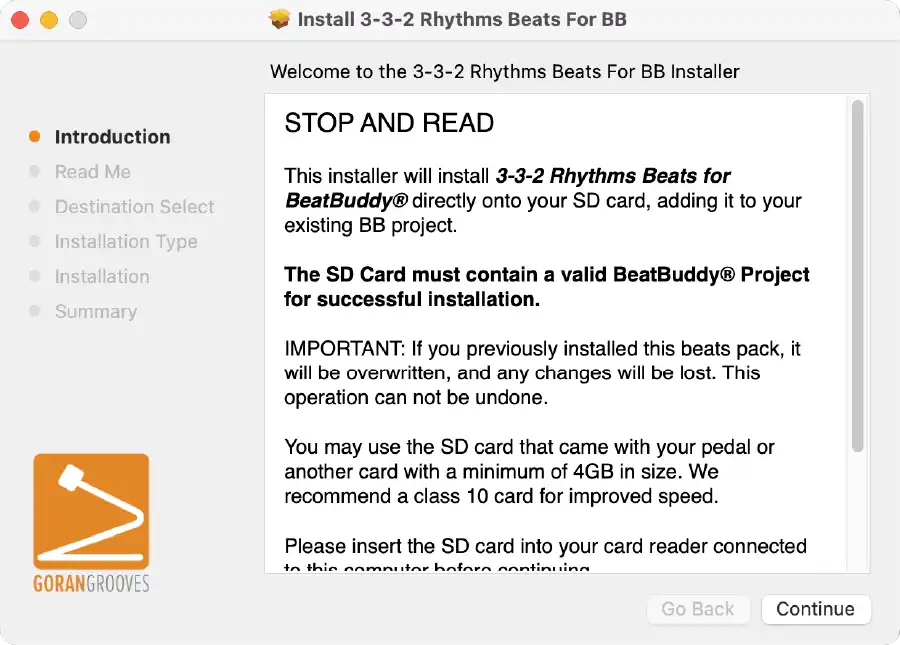
Read the brief legal information and proceed to the next step by clicking on the CONTINUE button.
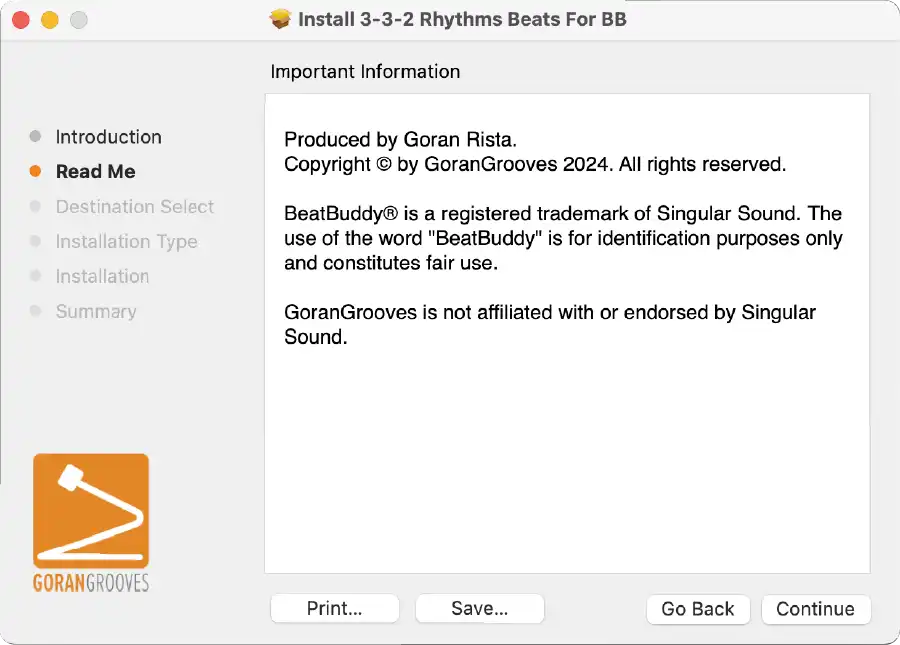
Step 4- Select your USB drive with an SD card #
When prompted, select the SD card drive containing a valid BeatBuddy Project and click CONTINUE.
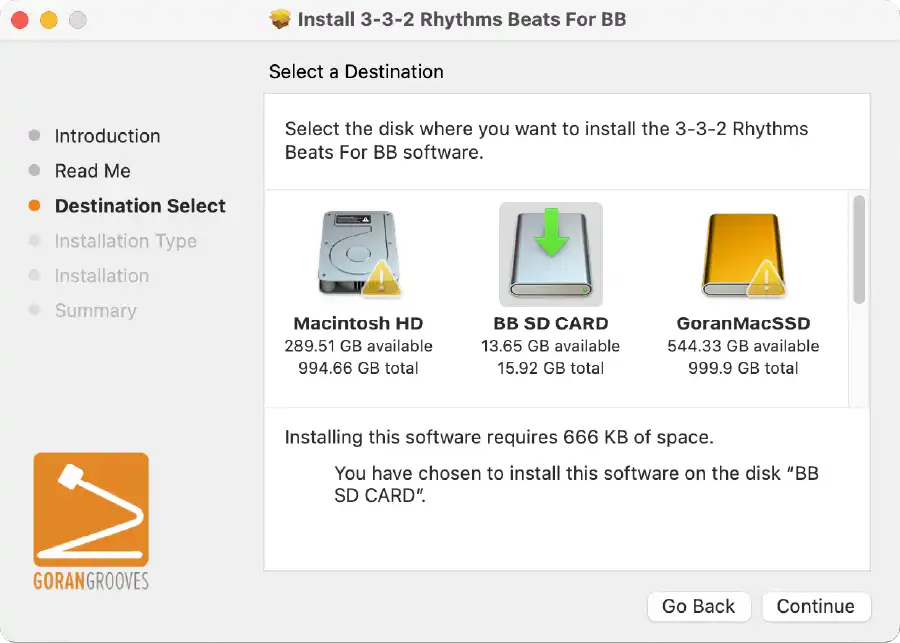
IMPORTANT: The installer will look for a BeatBuddy Project in the root directory of your selected drive. If no such drive or project is available, the installation can not proceed.
Step 5- Installation Type #
The installation type is a confirmation of your previous step. Click “Install” to proceed.
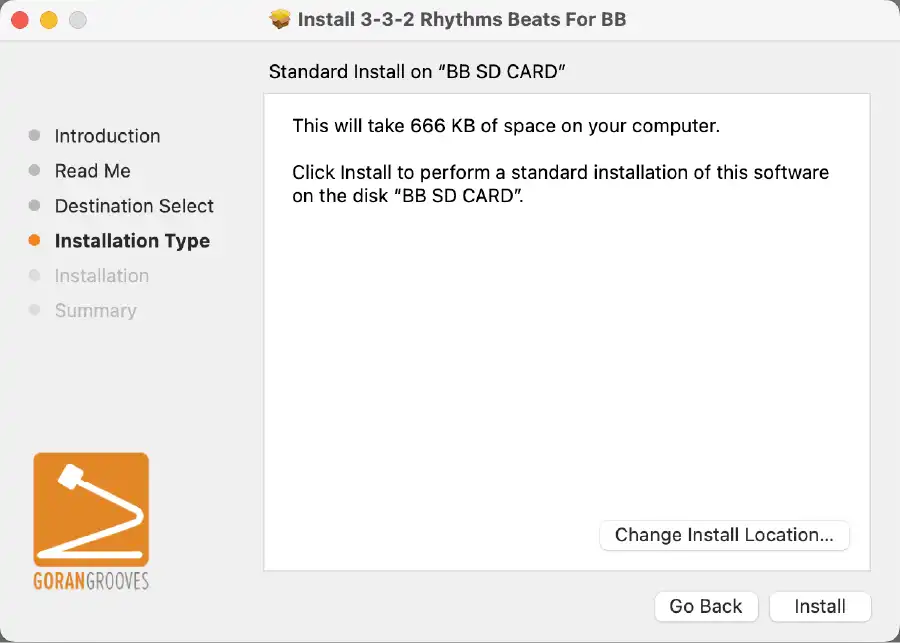
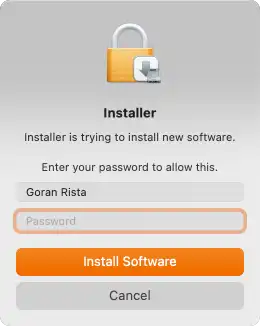
When prompted by your system, enter your admin password so that the installation can begin.
Step 5- Installation #
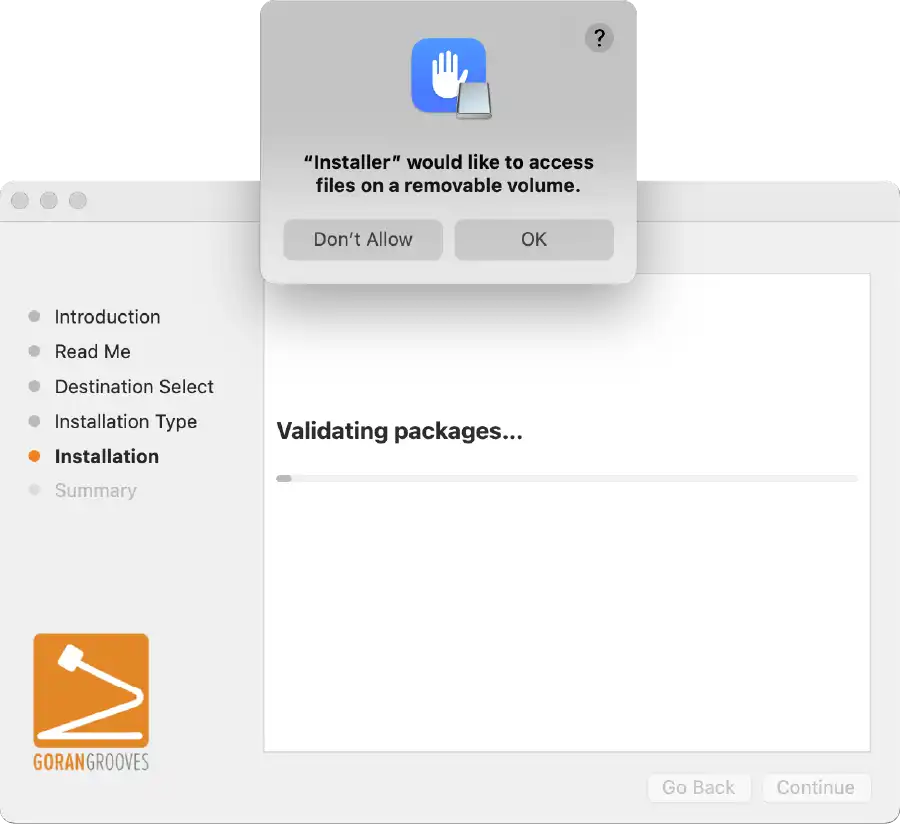
Give the installer permission to access your removable drive (SD card drive).
Since the installer contents are small, the installation should be completed quickly.
Upon successful installation, you will be presented with the success message.
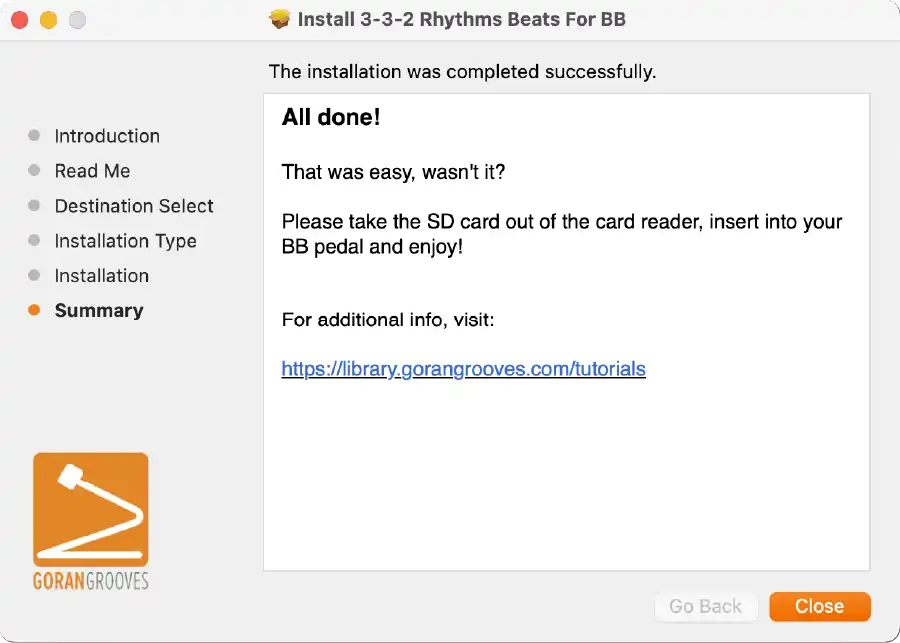
Take the SD card out of your card reader, insert it into your BeatBuddy, and enjoy.
Remember that the newly installed content is at the bottom of the list of available content on your pedal.